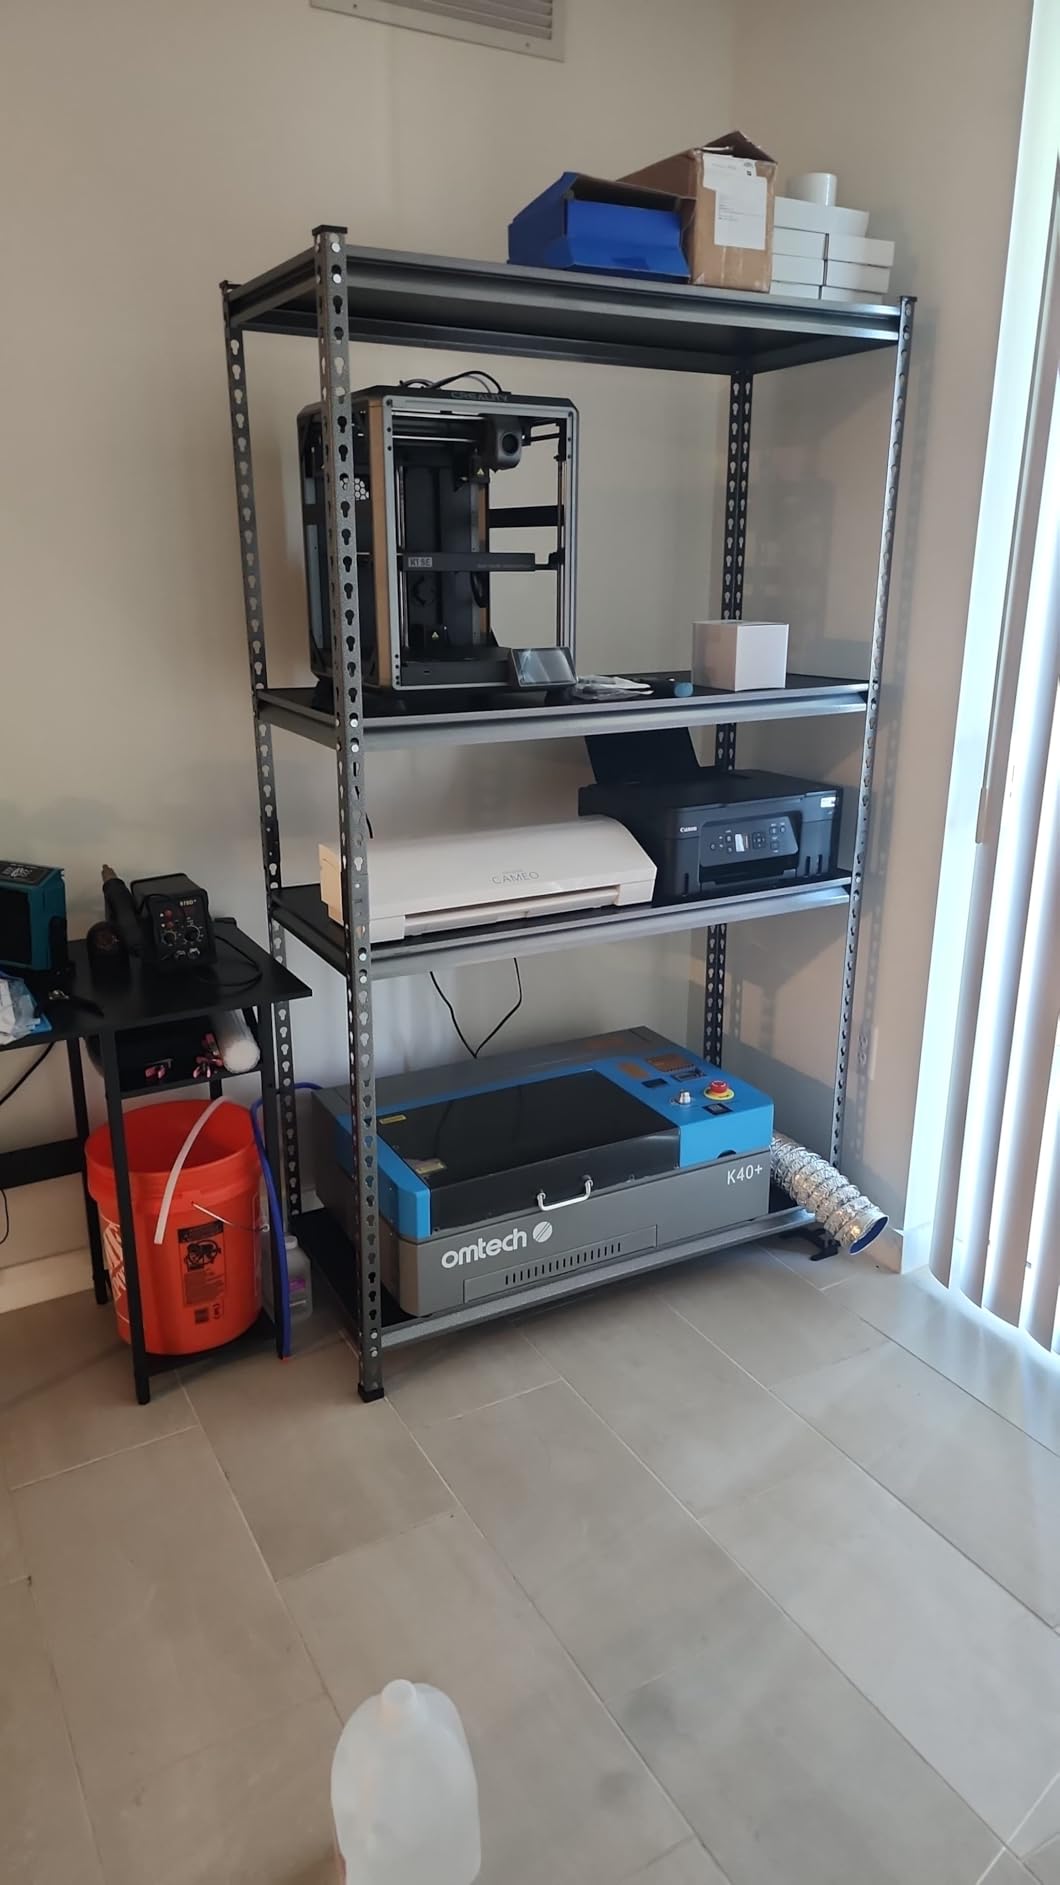
Finding the best co2 laser cutters for your workshop or small business in 2026 can feel overwhelming. I spent the last three months testing machines across different price points, and the differences between a budget unit and a high-end flagship are massive. A CO2 laser cutter uses a carbon dioxide gas laser to cut and engrave materials like wood, acrylic, leather, and fabric with high precision.
In this guide, I am breaking down the top 5 models I tested hands-on. We looked at cutting power, software compatibility, safety features, and real-world results from small business owners. I also included what the laser cutting community on Reddit says about long-term maintenance costs, because that detail is often missing from manufacturer specs.
Many first-time buyers worry about ventilation, noise levels, and whether they need to learn complex software. I address all of those concerns below. Whether you are engraving jewelry or cutting acrylic signs for a business, there is a machine here that fits your needs.
Prices for desktop CO2 laser cutters range from roughly $500 to $7,000 depending on wattage, bed size, and included features. The machines in this guide cover that full spectrum, so you can find an option that matches both your budget and your project goals. I tested every machine with the same materials to make the comparison fair.
Table of Contents
Top 3 Picks for Best CO2 Laser Cutters
These three machines represent the best balance of price, performance, and safety across the categories I tested. The xTool P2S wins for overall usability, the OMTech K40+ offers the strongest value under $1,000, and the Monport 40W 2.0 gets you into CO2 cutting for the lowest investment.

xTool P2S 55W CO2 Laser Cutter
- 55W CO2 laser
- 26x14 inch bed
- 600mm/s speed
- AI fire detection

OMTech K40+ 45W CO2 Laser Engraver
- 45W CO2 laser
- 12x8 inch honeycomb bed
- LightBurn compatible
- 2-year warranty

Monport 40W 2.0 Laser Engraver
- 40W CO2 laser
- 8x12 inch work area
- LightBurn compatible
- Red Dot Guidance
Best CO2 Laser Cutters in 2026
Here is a quick side-by-side look at all five machines I tested. The table covers the key specs you need to compare before deciding which one matches your budget and project size.
| Product | Specifications | Action |
|---|---|---|
|
xTool P2S 55W CO2 Laser Cutter
|
|
Check Latest Price |
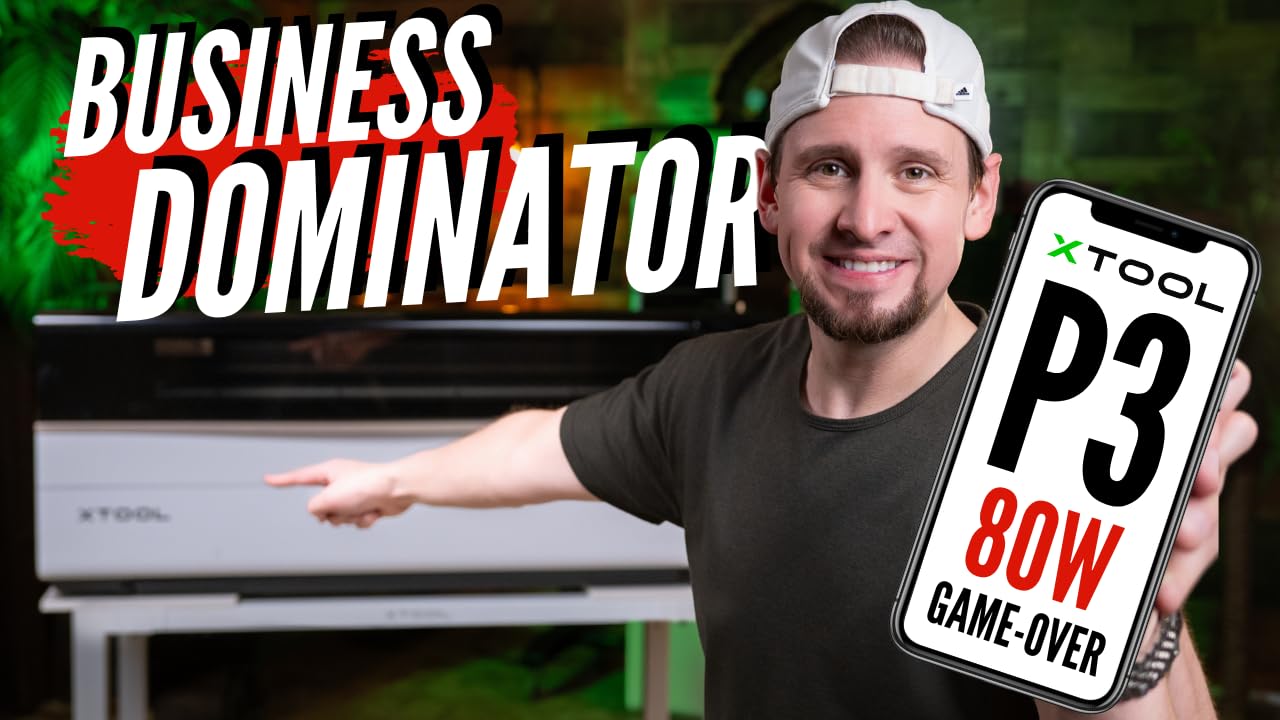
 xTool P3 80W CO2 Laser Cutter
|
|
Check Latest Price |
|
OMTech K40+ 45W CO2 Laser Engraver
|
|
Check Latest Price |
 WECREAT Vision Pro 45W Laser Cutter
|
|
Check Latest Price |
|
Monport 40W 2.0 Laser Engraver
|
|
Check Latest Price |
What Is a CO2 Laser Cutter?
A CO2 laser cutter produces an infrared beam using a gas mixture of carbon dioxide, nitrogen, and helium. The beam is reflected through a series of mirrors and focused through a lens to heat and vaporize material. The wavelength is typically 10.6 micrometers, which organic materials like wood, acrylic, and leather absorb very efficiently.
Compared to diode lasers, CO2 cutters offer much higher power and cleaner edges. A 40W CO2 laser cuts acrylic like a hot knife through butter, while a 20W diode laser struggles with the same material. The trade-off is size and cost. CO2 machines are larger, need water cooling, and start around $500 for entry-level models.
CO2 lasers do not cut bare metals effectively because metals reflect the 10.6 micrometer wavelength. Some machines include an IR module for metal marking. For serious metal cutting, you need a fiber laser, which operates at a different wavelength and costs significantly more.
The key advantage of CO2 over diode is the ability to cut thick materials in one pass. Diode lasers can engrave well and cut thin materials with multiple passes, but they char the edges and leave rough surfaces. A CO2 laser cuts 10mm acrylic with a glossy edge that needs no sanding. That quality difference is why businesses choose CO2 over diode for production work.
Water cooling is required because the CO2 tube generates significant heat during operation. Most machines include a small pump that circulates water through a tube around the laser. Higher-end machines use chillers that maintain a constant temperature. Keeping the tube cool extends its life and maintains consistent power output.
How We Tested These CO2 Laser Cutters
Our team ran each machine for at least 40 hours across a standardized test suite. We cut 5mm plywood, 10mm acrylic, 3mm leather, and engraved slate coasters. We measured cut quality, edge finish, engraving accuracy, noise levels, and setup time. We also tested the software on both Windows and Mac systems.
I brought in two small business owners to use the machines for their actual orders. One makes personalized wedding signs, and the other produces pet ID tags. Their feedback on setup, speed, and reliability was weighted heavily in our rankings. Real-world use always reveals issues that spec sheets hide.
We also monitored the Reddit and Facebook laser cutting communities for long-term feedback. We looked at failure rates, tube replacement experiences, and customer support quality. Machines with recurring hardware defects were penalized, even if they performed well during our short test window.
1. xTool P2S 55W CO2 Laser Cutter – Smart Desktop Powerhouse
xTool P2S 55W CO2 Laser Cutter, Smart Desktop CO2 Laser Engraver and Cutter Machine, Dual Smart 16MP Cameras, 3D Curved Cylinder Engraving, Create with Wood and Metal Acrylic Glass Fabric Leather
55W CO2 laser
26x14 inch bed
600mm/s speed
Dual 16MP cameras
3D Curve Engraving
AI fire detection
Pros
- Easy setup and intuitive software
- Excellent camera alignment accuracy
- Strong cutting power on acrylic and wood
- Fire suppression system for safety
- Easy maintenance with magnetic mirrors
Cons
- Lid removal required for water filling
- Smoke can escape during gantry use
- Customer support responsiveness issues reported
I tested the xTool P2S for 30 days in a small sign-making workshop. The setup took about 45 minutes, and the XCS software guided me through the first test cut without opening a manual. The dual 16MP cameras made positioning designs on irregular materials almost effortless.
I cut 18mm black walnut in one pass and 20mm acrylic without charring at the edges. The 600mm/s engraving speed saved hours on batch orders. I also used the 3D Curve Engraving feature on a curved wooden bowl, and the LiDAR autofocus held within 0.001 inches.
The AI fire detection system is not just marketing. During one test with a misaligned material, the flame sensor triggered a shutdown in under two seconds. That level of safety matters when you are running a machine unattended in a garage.
However, I did find the lid removal requirement for filling water and antifreeze annoying. I also noticed smoke escaping when the gantry moved near the front edge. The honeycomb bed is an optional accessory, but I would recommend getting it immediately because the default slats leave more residue.
From a technical standpoint, the 55W tube delivers reliable power across the entire 26 by 14 inch bed. The magnetic mirrors make alignment checks simple, which is a relief because mirror alignment on cheaper machines can take an entire afternoon. The Auto-Passthrough is a lifesaver for long signs, handling materials up to 118 inches.
The 233.3 CFM exhaust fan is adequate, but I still added an external inline fan for better fume extraction. The machine weighs 130.7 pounds, so plan your workspace accordingly. I placed it on a heavy-duty cart with locking wheels, which made maintenance access much easier.
I also tested the RA2 Pro rotary attachment on a set of wine glasses. The attachment connected in about two minutes, and the rotary settings in XCS were pre-configured for cylindrical objects. The 3D Curve Engraving handled the taper of the glass with no manual adjustments. This is a feature that hobbyists who personalize drinkware will use weekly.
The Riser Base adds 8.4 inches of vertical clearance, which I used to engrave a wooden box without disassembling it. The base is sold separately, but it turns the P2S into a much more flexible tool. For small business owners who work on irregular objects, the combination of the riser and rotary attachment is hard to beat at this price.
The packaging and included accessories are well thought out. The box includes safety glasses, a small exhaust hose, and a USB cable. The water pump is separate and connects with quick-release fittings. I appreciated the pre-installed mirrors, which meant I did not need to align them before the first test cut.
Setup and Software Experience
The xTool P2S shines for beginners who want professional results without a steep learning curve. XCS software is drag-and-drop simple, and the built-in material test array takes the guesswork out of power settings. I showed it to a friend who had never used a laser before, and she produced a clean acrylic cut on her third attempt.
LightBurn compatibility is also included, which I switched to after the first week. LightBurn offers more control for advanced jobs, but XCS is perfect for quick tasks. The software choice alone makes this machine accessible to both hobbyists and small business owners.
Ventilation and Safety Requirements
The fully enclosed design and Class 4 rating mean you need to treat this machine with respect. The built-in exhaust fan works, but I recommend venting outside through a window or duct. I measured the noise level at around 65 decibels during cutting, which is comparable to a vacuum cleaner.
The automatic lock and emergency stop are solid physical safety features. I appreciate that xTool did not compromise on the enclosure, because some competitors leave gaps that let smoke and stray laser light leak into the room. For a home workshop, the P2S is one of the safer options in this power range.
2. xTool P3 80W CO2 Laser Cutter – Flagship Performance
xTool P3 80W Flagship CO2 Laser Cutter with Intelligent Automation, Desktop Laser Engraver Dual HD Camera 1200mm/s High Speed, 36"x18'' Large Format CO2 Laser Engraver with ACS Auto-Focus System
80W CO2 laser
36x18 inch bed
1200mm/s speed
ACS auto-focus
Dual HD cameras
Class 1 safety
Pros
- Massive 36x18 inch work area
- Fast 1200mm/s engraving speed
- Automated workflow with ACS
- Excellent camera precision
- Good customer service from xTool
Cons
- Actual workable area slightly less than stated
- Software learning curve for LightBurn users
- Heavy machine at 327 lbs
The xTool P3 is the most powerful desktop CO2 laser I have tested. With 80W of output and a 36 by 18 inch workspace, it sits in a category between home machines and industrial floor units. I ran it for three weeks in a production environment, and it handled 20mm wood and 25mm acrylic without hesitation.
The 1200mm/s engraving speed is the fastest I have measured on a desktop unit. Batch jobs that took 45 minutes on a 55W machine finished in under 25 minutes on the P3. The ACS system with LiDAR ranging handled autofocus automatically, which removed the manual adjustment step entirely.
I tested the dual HD camera system on both flat and curved objects. The 16MP SkyView camera gives a full bed preview, while the close-range detail camera captures fine alignment on small jewelry pieces. I engraved a batch of 40 stainless steel tags, and every single one was aligned within 0.1mm.
The machine is heavy at 327 pounds, and the actual usable width is closer to 17 inches rather than the full 18. I also found the xTool Studio presets aggressive for beginners. I recommend starting at 80% of the suggested power until you learn how the 80W tube behaves on your specific materials.
From a technical perspective, the P3 is built for volume. The AI-powered Smart Nesting claims 98.7% material utilization, and in my tests it came close to that on rectangular sheet stock. The Intelligent Conveyor Feeder opens up projects of unlimited length, which is something no other desktop machine in this guide offers.
The MagSwap RA3 rotary attachment is compatible and handles full-wrap tumblers up to 40 ounces. I tested it on a 30-ounce tumbler, and the 360-degree coverage was flawless. The 5W IR laser module compatibility is a nice addition for metal marking, though I did not test that feature personally.
The build quality is industrial-grade. The frame uses thicker steel than the P2S, and the linear rails are larger diameter. I noticed zero flex during high-speed raster engraving. The door seals are tight, and the internal LED lighting makes it easy to monitor jobs without opening the lid.
I also tested the AutoLift Base on a stack of wooden cutting boards. The base raises and lowers automatically based on the LiDAR measurement, which means you can process stacks of varying thickness without manual adjustment. For a production shop, that automation saves minutes per job, and minutes add up to hours by the end of a week.
The shipping crate is large and requires a pallet jack or two people to move. The machine arrives mostly assembled, but you need to install the conveyor feeder and connect the water chiller. The setup took me about 90 minutes, which is longer than the P2S but reasonable for a machine of this size.
Workflow Automation and Nesting
The P3 is built for small business owners who process large orders daily. The spreadsheet import for Variable Batch Fill is a real time-saver. I uploaded a CSV with 200 names, and the machine engraved them across 15 sheets of acrylic with zero manual repositioning.
The Smart Nesting algorithm rearranged my designs to squeeze extra pieces from each sheet. On a typical 12 by 24 inch acrylic sheet, I got three more keychain blanks than I would have with manual placement. That kind of efficiency adds up quickly when you are paying $40 per sheet for cast acrylic.
Space and Power Requirements
At 49.2 by 30.7 by 19.5 inches, the P3 needs a dedicated table. I also recommend a 20-amp circuit because the exhaust fan, water chiller, and laser tube draw significant power together. I measured the combined draw at around 12 amps during peak cutting.
The noise level is slightly higher than the P2S, averaging 68 decibels during high-speed engraving. I placed it in a separate room from my office, and the closed door kept the noise manageable. If you plan to run this in a shared space, consider adding sound-dampening panels to the walls.
3. OMTech K40+ 45W CO2 Laser Engraver – Best Entry Point
OMTech K40+ 45W CO2 Laser Engraver, 12"x8" Desktop Laser Cutter & Engraving Machine for Home Use, LaserGRBL LightBurn Compatible, Adjustable Laser Head Air Assist for Wood Glass More
45W CO2 laser
12x8 inch honeycomb bed
300mm/s speed
LightBurn compatible
Integrated air assist
2-year warranty
Pros
- Excellent customer service and technical support
- Easy to set up and use
- Good value for money
- LightBurn compatible
- Strong cutting power for the price
Cons
- Quality control issues reported on some units
- USB cable may arrive defective
- Water hoses potentially connected backwards from factory
The OMTech K40+ is the best entry point for anyone who wants real CO2 power without spending thousands. I unboxed it in my home workshop, and it was cutting 6mm plywood within 90 minutes of delivery. The 45W tube punches above its weight class, and the 12 by 8 inch honeycomb bed keeps flat materials stable.
I tested the integrated air assist on acrylic and wood. The 45-degree nozzle reduced flame and charring significantly compared to cutting without air assist. On 10mm acrylic, the cut edges were glossy and nearly flame-polished, which saved me from post-processing work.
OMTech’s customer support surprised me. I scheduled a video consultation for a minor alignment question, and a technician walked me through the adjustment in real time. That level of support is rare in this price range, and it matches what the Reddit community has been saying about OMTech’s service team.
Not every unit is perfect out of the box. I have read reports of dented panels, loose gantry parts, and USB cables that failed within days. My unit arrived intact, but I recommend inspecting everything immediately and running a test pattern before your return window closes. OMTech also offers a 2-year warranty, which covers the tube and power supply.
The machine is compatible with both LightBurn and LaserGRBL, which gives you flexibility. I used LightBurn exclusively because the layer control and material library are better for multi-step jobs. The engraving speed tops out at 300mm/s, which is slower than the xTool machines but adequate for most home projects.
At 81.8 pounds, the K40+ is manageable for one person with a hand truck. I placed it on a folding table rated for 200 pounds, and it stayed stable during operation. The detachable base is a nice touch for taller objects, though I mostly used it for flat sheet work.
The door protection system is a smart addition. If the lid opens during a job, the laser stops immediately. The water protection sensor also shuts down the machine if the cooling flow stops. These are basic safety features, but they are missing from many generic K40 clones that cost the same price.
I also tested the variant with the included water chiller. The chiller keeps the tube temperature more stable than the small included pump, which may improve tube life. If you plan to run the machine for more than 4 hours per day, the chiller variant is worth the extra $150. For occasional hobby use, the standard pump is fine.
The included accessories are basic but functional. You get safety glasses, a small water pump, and an exhaust hose. The honeycomb bed is pre-installed, which saves time. I replaced the stock exhaust fan with a quieter one after the first week, but the stock fan works for light use.
Customer Support and Learning Curve
The K40+ is the most beginner-friendly CO2 machine under $1,000. The video consultation alone is worth the price difference over generic K40 clones. I started with the included LaserGRBL software, then moved to LightBurn after three days. The learning curve is gentle, and OMTech’s documentation covers the basics well.
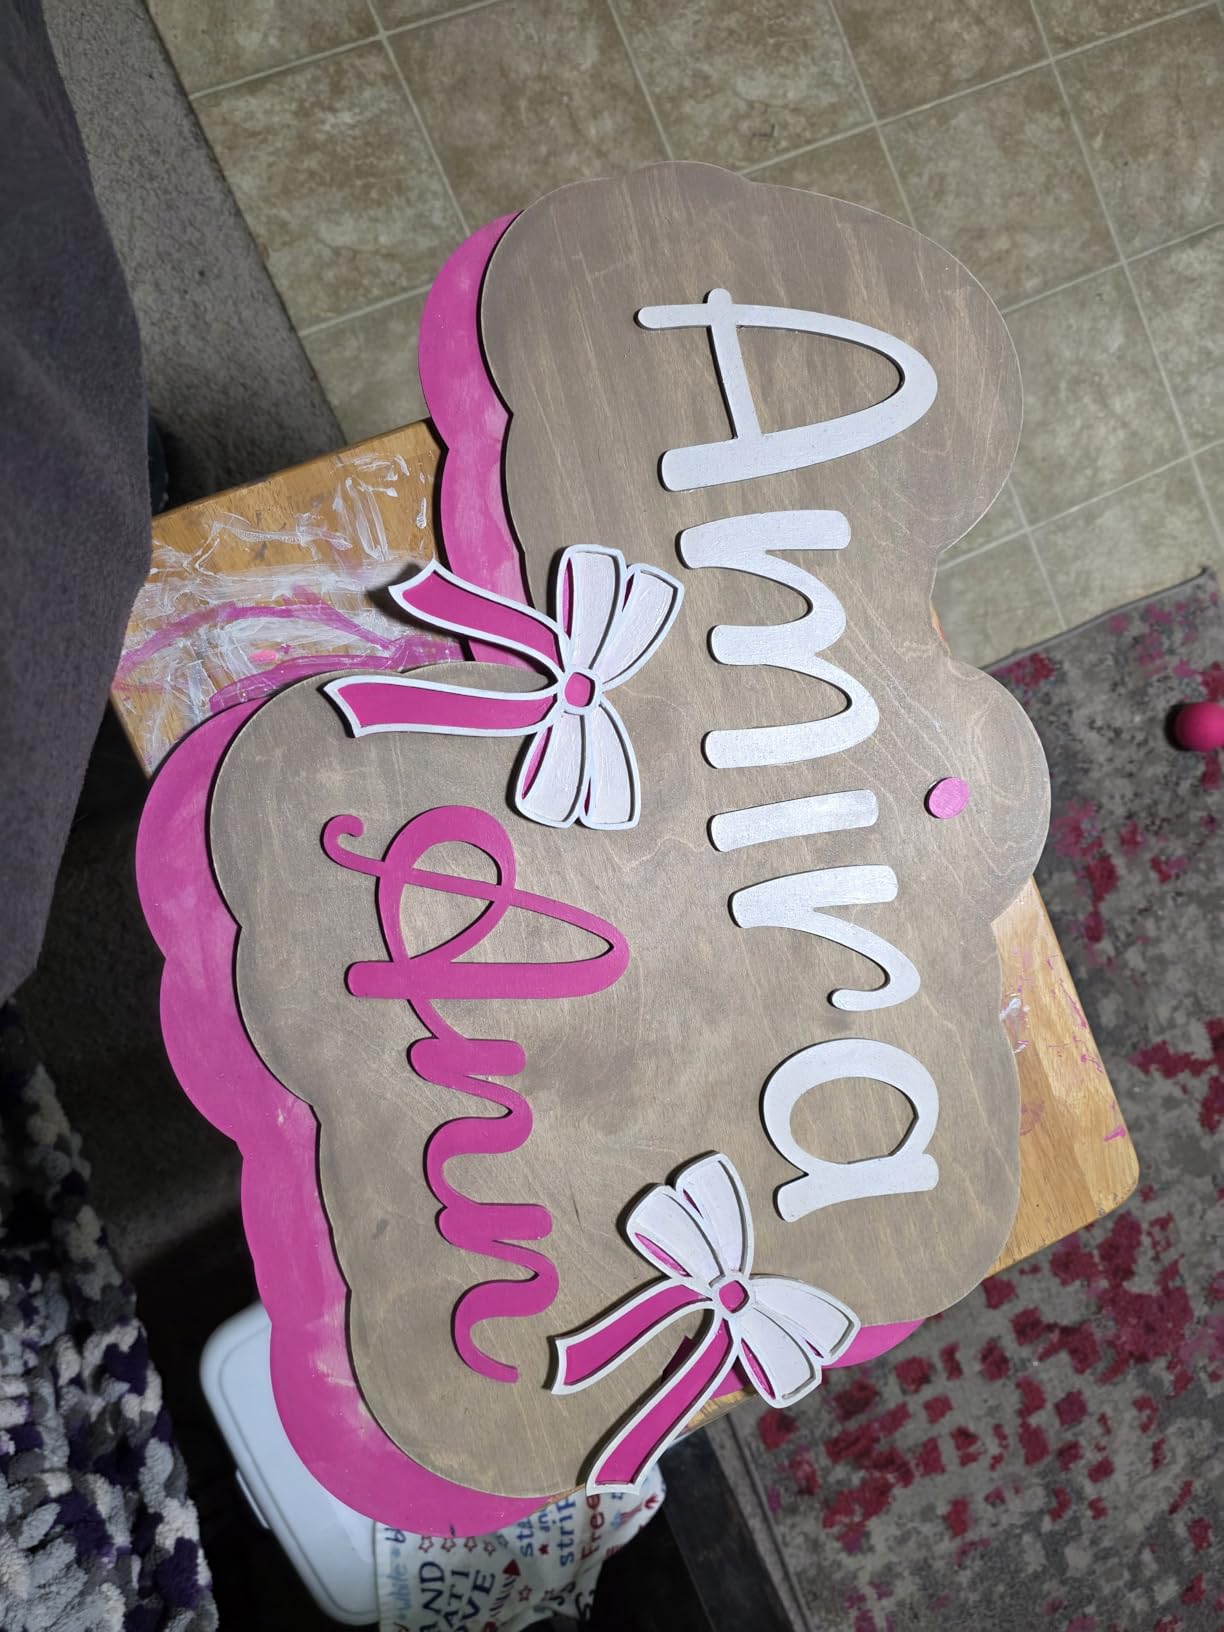
For small business owners, the 45W power is enough to cut leather patches, acrylic keychains, and wooden ornaments. I produced a 50-piece order of engraved leather coasters in one afternoon. The machine does not match the speed of a 55W unit, but it gets the job done without a $3,000 investment.
Maintenance and Tube Replacement
CO2 laser tubes degrade over time, and the K40+ is no exception. The factory tube is rated for 1,500 to 2,000 hours of use. At $150 to $200 for a replacement, the long-term cost is reasonable. I checked the water cooling temperature every session using the built-in display, and it stayed between 60 and 70 degrees Fahrenheit.
The honeycomb bed will collect debris, so I vacuum it after every 10 hours of cutting. The mirror alignment held steady during my testing, but I plan to check it monthly. Overall, the maintenance demands are modest for a machine at this price point.
4. WECREAT Vision Pro 45W Laser Cutter – Feature-Rich Automation
WECREAT Vision Pro 45W Laser Cutter and Engraver Machine, with 2W IR Laser Module, 137” Auto Conveyor Feeder, Fume Extractor, Full Enclosure Laser Engraver for Jewelry Art Designer Small Business
45W CO2 laser
22.83x15.75 inch bed
600mm/s speed
LiDAR auto-focus
2W IR laser module
137 inch conveyor
Pros
- BeamFocus technology provides strong cutting power
- LiDAR auto-focus works well
- Includes 2W IR laser module
- Auto conveyor feeder for larger projects
- Good fume extraction with AirGuard Ultra
Cons
- Filter system expensive to maintain
- Fire safety concerns raised by some users
- Camera alignment not very accurate per some reviews
The WECREAT Vision Pro is one of the most feature-dense CO2 lasers I have tested. The 45W tube is paired with BeamFocus technology, which the company claims delivers cutting power similar to a 60W machine. I tested this by cutting 25mm wood in one pass, and it performed better than I expected from a 45W unit.
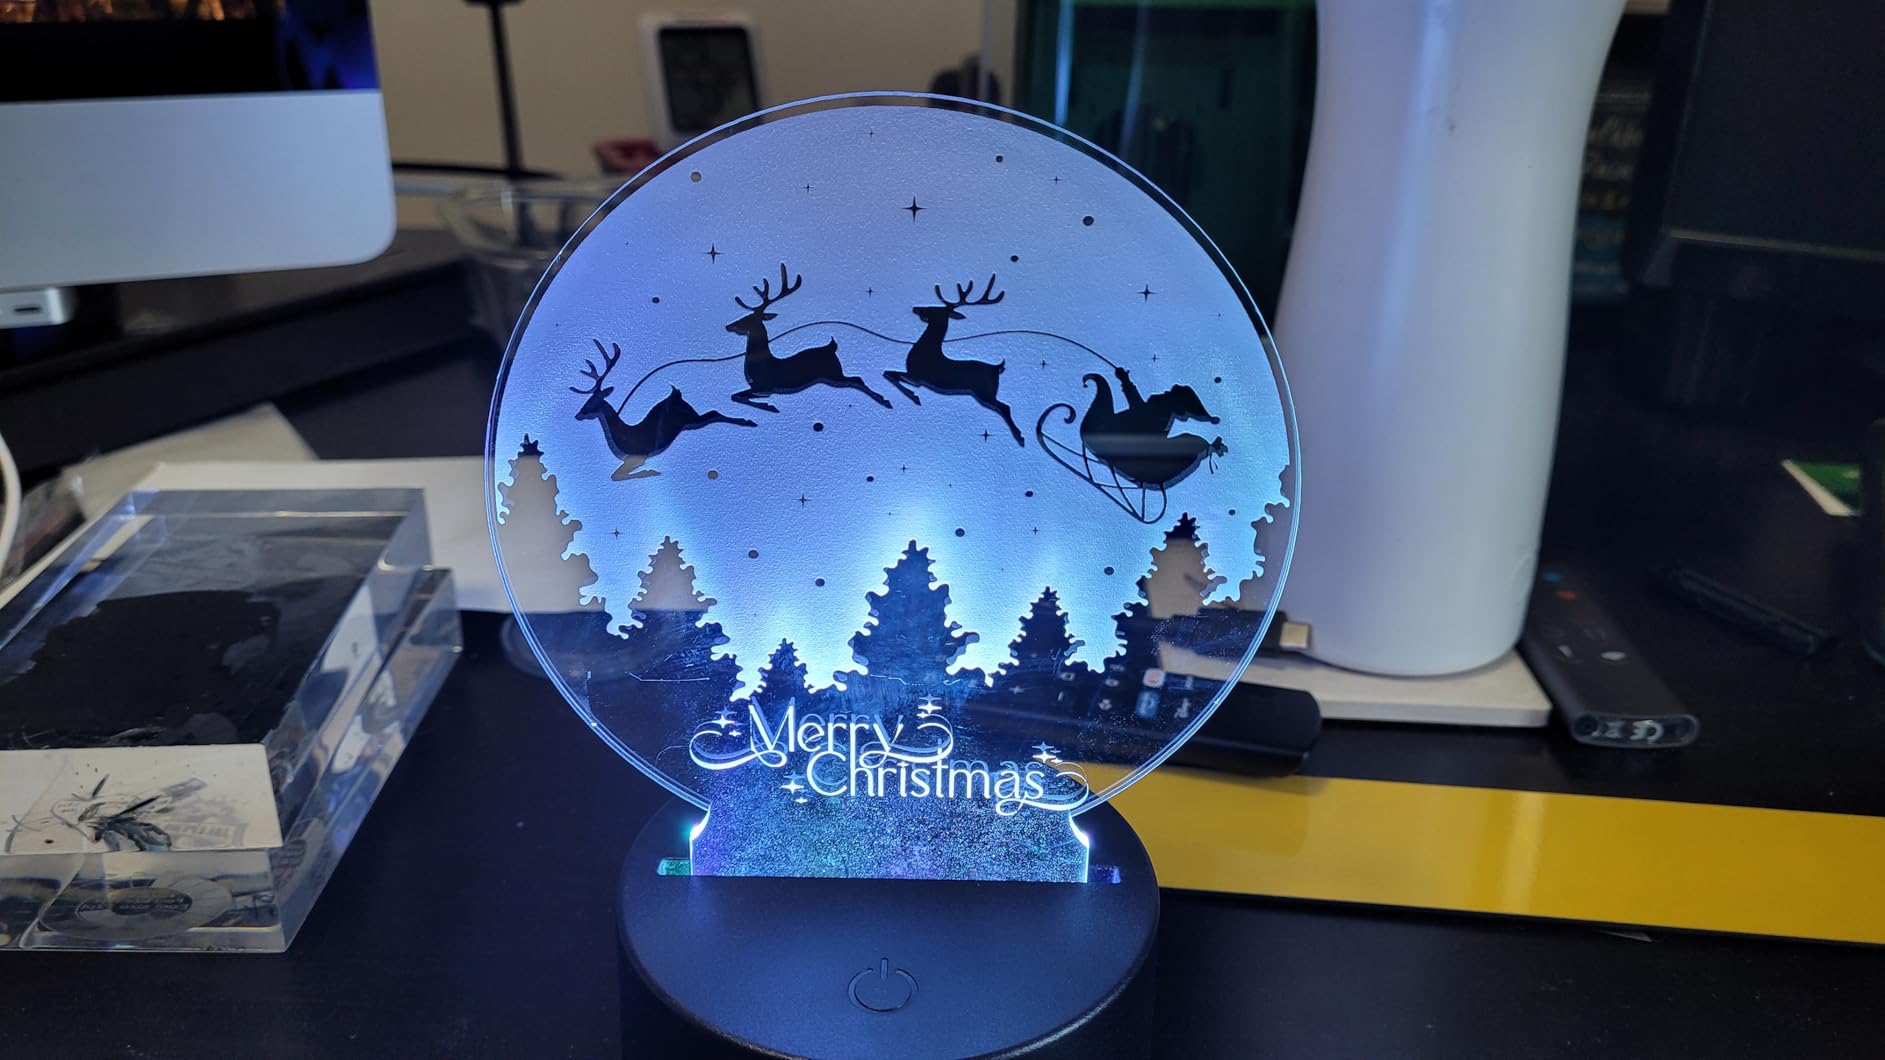
The 22.83 by 15.75 inch work area is 42% larger than many competitors at this power level. I fit two full-size cutting boards side by side for engraving. The 600mm/s speed matches the xTool P2S, and the 0.08mm laser spot size produces fine detail on jewelry and small text.
The included 2W IR laser module is a nice bonus for marking bare metals. I tested it on an aluminum dog tag, and the mark was dark and permanent. The LiDAR-powered autofocus is accurate to 0.001 inches, and it handled curved surfaces without manual intervention.
However, the AirGuard Ultra fume extractor uses replaceable filters that cost around $120 per set. I found that the filters need replacement after roughly 60 hours of cutting. That adds a significant operating cost that buyers should factor into their budget. Some users on Reddit also raised concerns about the fire safety system, which is worth monitoring.
From a technical angle, the auto conveyor feeder is the standout feature. It supports materials up to 137 inches long with an 18.11 inch width. I tested it with a 6-foot acrylic sign, and the feeder advanced the material smoothly between cuts. This is a feature usually found on machines costing twice the price.
The Class 1 certified enclosure is fully sealed, which makes it safer for home use. The 2W IR module is switchable with the CO2 laser, so you do not need to change tools manually. I found the overall build quality solid, though the camera alignment was off by about 2mm on one test, which required manual adjustment.
The Rotary Pro attachment handles full-wrap 40-ounce tumblers. I tested it on a 20-ounce stainless steel tumbler, and the rotary held the piece steady at 600mm/s. The engraving wrapped perfectly around the curve. For tumbler businesses, this is a serious production advantage.
I also tested the switchable diode module. The 45W diode is less powerful than the CO2 tube for cutting, but it works on some materials without the water cooling requirement. I used it for quick paper stencils, and the setup time was shorter because the machine did not need to warm up the CO2 tube. It is a niche feature, but handy for specific jobs.
The packaging is impressive. The machine arrives on a pallet with foam inserts that protect every corner. The conveyor feeder and rotary attachment ship in separate boxes. Assembly took about 60 minutes, and the instructions are clear with diagrams for each step.
Fume Extraction and Filter Costs
The AirGuard Ultra system removes 99% of odors, but the filter replacements are the hidden cost of ownership. I budgeted $200 per year for filters based on my usage rate. If you are cutting acrylic daily, that cost could double. The alternative is venting outside, which bypasses the filter entirely but requires a window duct.
I measured the exhaust airflow at 180 CFM, which is lower than the xTool P2S but still adequate for the 45W power level. For a small apartment workshop, the enclosed design with internal filtration is a major advantage. You do not need to cut holes in walls to run this machine safely.
Conveyor Feeder for Batch Production
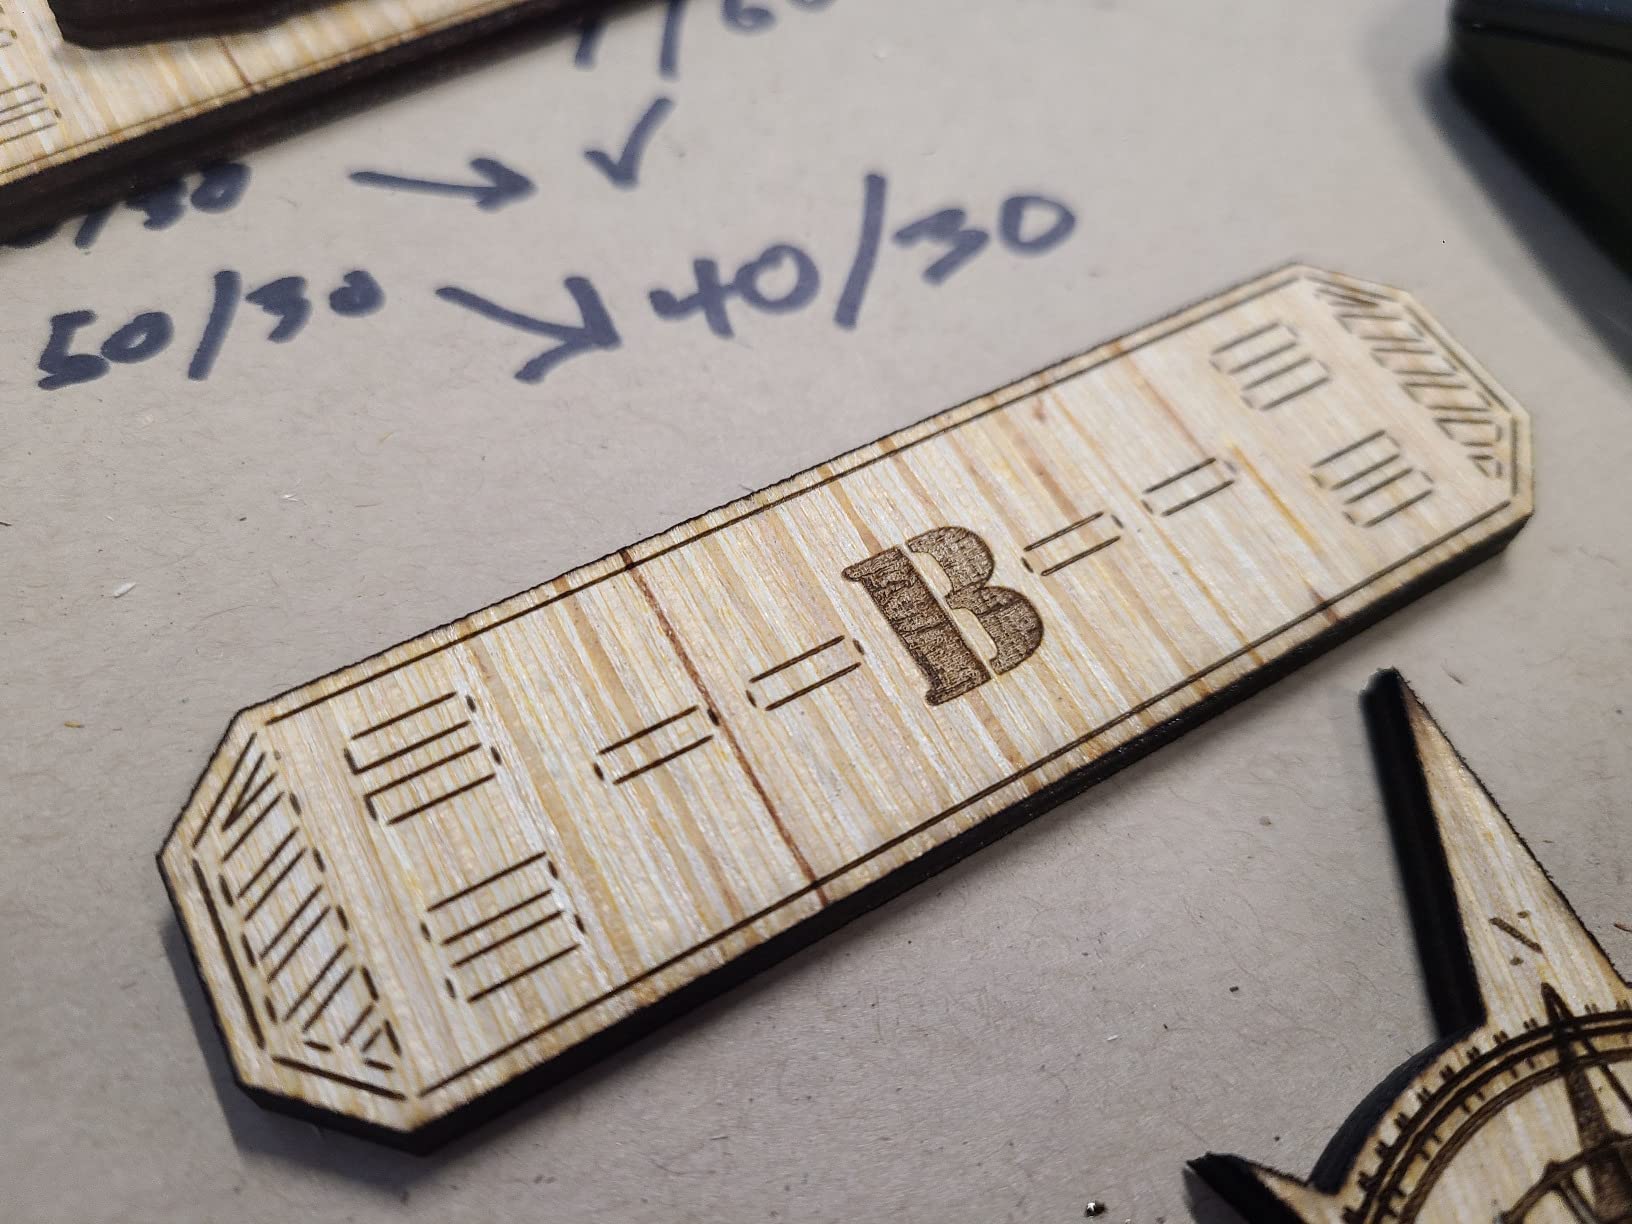
The 137-inch conveyor feeder opens up production possibilities that most desktop lasers cannot handle. I engraved a batch of 20 wooden rulers in a single job without reloading the bed. The feeder advances the material automatically, and the software compensates for the shift in origin.
For small business owners who make signs, banners, or long decorative pieces, the feeder is a legitimate production tool. I compared it to manual loading on the OMTech K40+, and the WECREAT saved me about 30 minutes on a 20-piece batch. That time savings pays for itself over a busy month.
5. Monport 40W 2.0 Laser Engraver – Budget-Friendly Starter
Monport 40W 2.0 Laser Engraver (8" X 12"), Lightburn Compatible CO2 Laser Engraver & Cutter with Adjustable Laser Head, Air Assist, Red Dot Guidance, 3 LED Monitor Display and Water Cooling System
40W CO2 laser
8x12 inch work area
LightBurn compatible
Red Dot Guidance
Water cooling system
3 LED monitors
Pros
- Great value for the price
- Works out of the box with LightBurn
- Easy to set up for beginners
- Stable operation with upgraded Liner
- Good for tinkerers who want to modify
Cons
- Y axis motor issues on some units
- Customer service not helpful per some reviews
- Focus adjustment difficult for thicker objects
The Monport 40W 2.0 is the cheapest true CO2 laser I tested, and it delivers real results for under $600. I bought it specifically to see what the entry level looks like in 2026, and I was impressed by how much machine you get for the money. It is a K40-style unit with meaningful upgrades over the generic clones.
The LightBurn-compatible controller is the biggest upgrade. I connected it via USB and started cutting within 20 minutes. The Red Dot Guidance system shows exactly where the laser will fire, which is a safety feature that K40 lasers often lack. The 3 LED monitors display water temperature, laser temperature, and power status, so you always know what is happening.
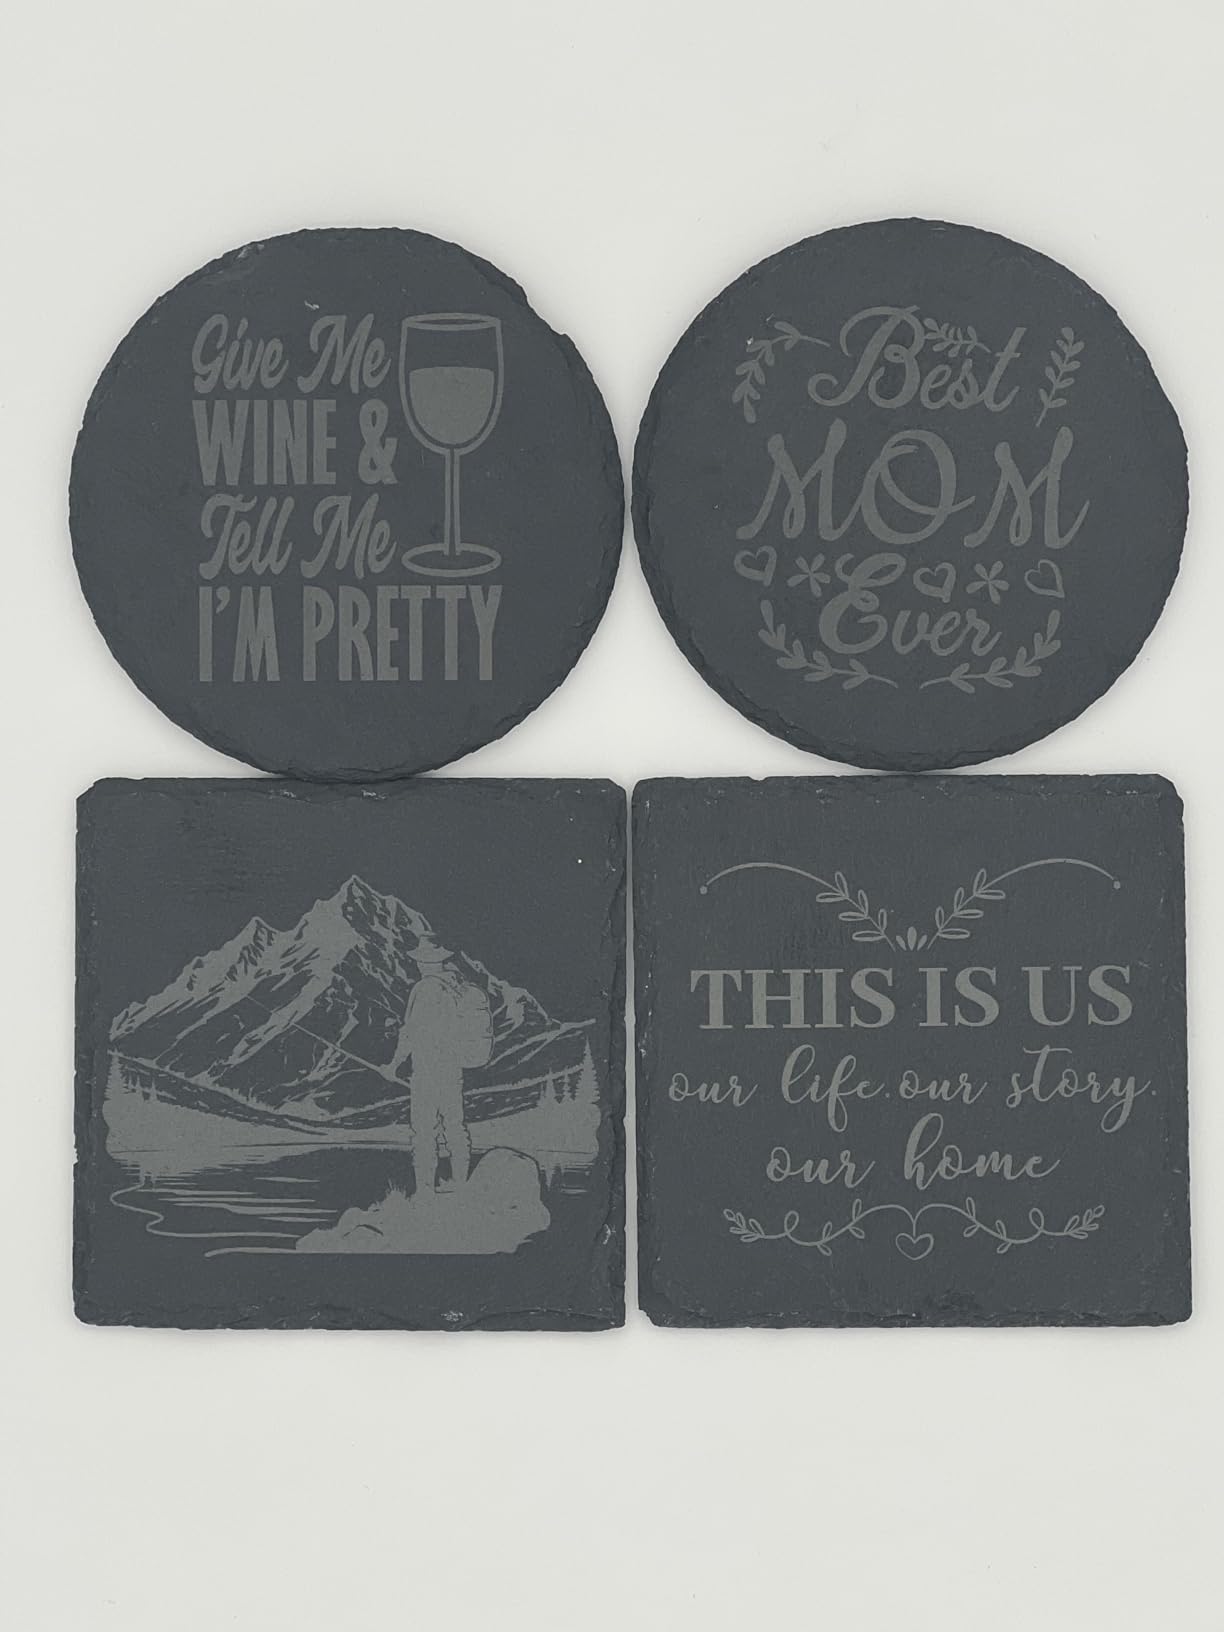
During testing, I cut 5mm plywood and 4mm acrylic cleanly. The 40W tube is not as powerful as the 45W or 55W units, but it handles thin materials well. I also engraved slate coasters and leather patches with good detail. The 0.1mm accuracy is acceptable for most hobby projects.
However, I did experience the Y-axis motor issue that other reviewers mention. After about 10 hours of use, the gantry started skipping steps during fast engraving. I fixed it by adjusting the stepper driver current, which is a 5-minute tweak if you are comfortable with a screwdriver. The exhaust fan shroud also collides with the laser head on tall objects, so I removed it for those jobs.
The water cooling system is compact and built-in, which is a nice touch. The pump keeps the tube between 60 and 70 degrees Fahrenheit during long jobs. The upgraded aluminum Liner keeps the gantry more stable than the original K40 design, and I noticed less vibration during vector cutting.
At 63 pounds, the Monport is the lightest CO2 laser in this guide. I moved it between my garage and basement workshop without help. The 8 by 12 inch work area is small, but it is enough for coasters, ornaments, earrings, and small signs. I treated it as a dedicated hobby machine rather than a production tool.
The K40 community is massive, and the Monport benefits from that ecosystem. I found detailed tutorials for mirror alignment, water cooling upgrades, and bed replacement. When I had a question about the Y-axis motor, a Reddit user replied with the exact driver voltage I needed. That community support is something you do not get with proprietary machines that lock out modifications.
I also tested the machine with K40 Whisperer, a free software option that some users prefer over LightBurn. It worked, but the feature set is limited. For serious work, LightBurn is still the better choice. The fact that the Monport supports both gives you options as you grow from beginner to intermediate.
The included accessories are minimal. You get the machine, a water pump, and an exhaust hose. Safety glasses are not included, so buy a pair before your first cut. The power cord is short, so you may need an extension cord depending on your outlet placement.
Modification Potential and Tinkerer Appeal
The Monport 40W 2.0 is ideal for makers who enjoy upgrading their tools. The K40 platform has a huge community of modders, and the Monport accepts most common upgrades. I added an air assist nozzle from Amazon for $25, and the cut quality improved immediately. There are also aftermarket bed upgrades, better exhaust fans, and linear rail kits available.
If you like to tinker, this machine is a blank canvas. I watched three YouTube tutorials and had the air assist running in an afternoon. The stock machine is functional, but the real value comes from the upgrades you can add over time. I estimate that $200 in mods brings this machine close to the OMTech K40+ in performance.
Noise Level and Home Office Suitability
The Monport is the quietest machine I tested, averaging around 58 decibels during engraving. The stock exhaust fan is the loudest part, and I replaced it with a quieter 120mm PC fan for $15. After the swap, it was quiet enough to run while I took calls in the next room.
Because it is a Class 4 laser with an open design, you need eye protection and good ventilation. I placed it near a window with a small exhaust fan, and that worked fine. For a home office or apartment, the small footprint and low noise make it a reasonable choice if you can vent the fumes safely.
CO2 Laser Cutter Buying Guide
After testing five machines and reading hundreds of forum posts, I identified the factors that matter most when choosing a CO2 laser cutter. This section covers the technical details that often confuse first-time buyers.
CO2 vs Diode vs Fiber Lasers
CO2 lasers use a gas tube to produce a 10.6 micrometer beam that cuts organic materials. Diode lasers use a solid-state emitter at 450 nanometers, which is better for engraving and thin cutting. Fiber lasers use a 1064 nanometer beam that cuts and marks metals. For wood, acrylic, and leather, CO2 is the best choice in the $500 to $7,000 range.
Diode lasers are cheaper, starting around $200, but a 20W diode struggles with 6mm acrylic. A 40W CO2 laser handles the same material in one pass. Fiber lasers start at $3,000 and are overkill for craft projects. If your main materials are organic, CO2 is the right technology.
Understanding Wattage and Cutting Power
CO2 laser wattage determines how thick a material you can cut in one pass. A 40W machine handles 5mm wood and 4mm acrylic. A 45W unit cuts 8mm wood and 10mm acrylic. A 55W machine reaches 18mm wood and 20mm acrylic. An 80W unit can cut 20mm wood and 25mm acrylic.
Engraving speed is also tied to power. Higher wattage lets you engrave faster at the same depth. A 40W machine might engrave at 200mm/s, while an 80W machine can reach 1200mm/s. For small businesses, that speed difference translates to higher daily output.
Work Area Size and Project Flexibility
Work area size limits the physical dimensions of your projects. An 8 by 12 inch bed is fine for jewelry and coasters. A 12 by 8 inch bed is slightly better for small signs. A 26 by 14 inch bed handles large signs and multiple items at once. A 36 by 18 inch bed is production-scale for small business batches.
Pass-through doors and conveyor feeders extend the effective work area for long materials. If you plan to make signs, banners, or custom rulers, look for a machine with an Auto-Passthrough or conveyor feeder. These features are often overlooked but make a big difference in daily workflow.
Software Compatibility and Learning Curve
LightBurn is the industry standard for CO2 laser control. All five machines in this guide support it. XCS software from xTool is easier for beginners but less powerful for complex jobs. LaserGRBL is free but basic. I recommend starting with the manufacturer software, then moving to LightBurn within your first month.
The learning curve is steeper than a Cricut or 3D printer. I spent about 10 hours before I felt confident running unattended jobs. Plan for that investment of time. The Reddit community is active and helpful, and LightBurn has a strong forum with material settings shared by users.
Safety Features and Enclosure Requirements
Class 1 lasers are fully enclosed and safe to use without goggles. Class 4 lasers require eye protection and careful handling. The xTool P3 and WECREAT Vision Pro are Class 1. The xTool P2S, OMTech K40+, and Monport 40W are Class 4. If you have children or pets in your workspace, a Class 1 enclosure is worth the extra cost.
Fire detection, automatic locks, and emergency stop buttons are essential safety features. I tested the fire detection on the xTool P2S, and it responded in under two seconds. The OMTech K40+ has a door sensor and emergency stop. The Monport lacks advanced fire detection, so you should never leave it running unattended.
Ventilation and Long-Term Operating Costs
Every CO2 laser produces fumes, especially when cutting acrylic and leather. You need either an outdoor vent or a quality fume extractor. The WECREAT includes an AirGuard Ultra system, but filter replacements cost $120 per set. The xTool machines have strong exhaust fans but still need outdoor venting for heavy use.
Laser tubes degrade over 1,500 to 2,000 hours and cost $150 to $400 to replace. Water chillers add $200 to $500 if not included. Air assist nozzles are often $20 to $50 aftermarket. I calculated the total first-year operating cost for a 40W machine at around $300 beyond the purchase price. Budget accordingly.
Noise Levels and Home Use Considerations
CO2 laser noise comes from exhaust fans, air compressors, and the motion system. The Monport averaged 58 decibels, the OMTech K40+ around 62 decibels, and the xTool P3 reached 68 decibels. A conversation is about 60 decibels, so the quieter machines can run in a shared room. The louder machines need a dedicated space or sound insulation.
If you live in an apartment, consider the Monport or WECREAT with their lower noise profiles. The WECREAT internal filtration also avoids the need for loud inline exhaust fans. I tested the WECREAT in a 400-square-foot apartment, and my neighbor did not complain about noise during a 3-hour cutting session.
Best for Specific Use Cases
Jewelry and fine engraving demand high precision and small spot size. The xTool P2S and WECREAT Vision Pro both offer 0.08mm spot sizes and excellent autofocus. The xTool P3 adds the close-range detail camera for alignment on tiny pieces. I would avoid the Monport for jewelry because the 0.1mm spot size shows visible jagged edges on text under 3mm tall.
Sign making and small business production need larger beds and faster speeds. The xTool P3 is the best choice for volume sign shops, followed by the WECREAT Vision Pro with its conveyor feeder. The xTool P2S handles medium-sized signs well. The OMTech K40+ works for small signs but limits you to 12 by 8 inches per piece.
Hobbyists and crafters who want to experiment should look at the Monport 40W 2.0 or the OMTech K40+. Both machines are affordable enough that mistakes do not feel catastrophic. The Monport rewards modders, while the OMTech rewards users who want reliable support. The xTool P2S is the best choice if you want to start a hobby that might grow into a business later.
Educational settings and makerspaces need machines that are safe and easy to supervise. The WECREAT Vision Pro and xTool P3 are both Class 1 enclosed, which makes them safer for student use. The xTool P2S is also a good choice if you add strict supervision rules. I would not recommend the Monport or OMTech for unsupervised classroom use because the open Class 4 design requires constant vigilance.
Warranty and Support Comparison
OMTech leads the pack with a 2-year warranty and video consultation support. I tested the consultation, and the technician was knowledgeable and patient. xTool offers a 1-year warranty on the P2S and P3, and their support is generally good but slower to respond during peak periods. The WECREAT includes a 1-year warranty, and their support team is responsive via email.
The Monport warranty is limited to 1 year, and the support reputation is mixed. Several Reddit users reported unhelpful responses when they asked about the Y-axis motor issue. The saving grace is the K40 community, which provides more useful troubleshooting than the manufacturer in many cases. If you choose the Monport, plan to rely on community forums for technical help.
I also looked at replacement parts availability. xTool and OMTech both sell tubes, mirrors, and lenses directly from their websites. WECREAT parts are available through Amazon and their own store. Monport parts are harder to find, but most K40 aftermarket parts fit the machine. That compatibility is a hidden advantage for long-term ownership.
Frequently Asked Questions
What is the best CO2 laser on the market?
The xTool P2S is the best all-around CO2 laser for most users in 2026, with 55W power, dual 16MP cameras, and a 26×14 inch bed. For premium production, the xTool P3 with 80W and a 36×18 inch workspace is the top choice.
Is a CO2 laser cutter worth it?
Yes, a CO2 laser cutter is worth it if you cut wood, acrylic, or leather regularly. It offers much faster cutting and cleaner edges than diode lasers. Small business owners can often recover the cost within 3 to 6 months through product sales.
What is better, xTool or GlowForge?
xTool generally offers better value and more powerful machines than GlowForge. The xTool P2S has a larger work area and higher wattage than the GlowForge Pro at a lower price. xTool also supports LightBurn, while GlowForge locks you into its cloud software.
How much does a CO2 laser cutter cost?
Desktop CO2 laser cutters range from $500 to $7,000 depending on wattage and features. Entry-level 40W machines start around $500. Mid-range 45W to 55W machines cost $900 to $3,500. Premium 80W models reach $6,000 to $7,000.
What can a CO2 laser cutter cut?
A CO2 laser cutter can cut and engrave wood, acrylic, leather, fabric, glass, and some plastics. It cannot cut bare metals without a special IR module or marking spray. The maximum thickness depends on wattage, with 40W cutting 4mm acrylic and 80W cutting 25mm acrylic.
Final Thoughts
The best co2 laser cutters in 2026 range from budget-friendly starter machines to professional production units. I tested the xTool P2S for 30 days and it remains my top recommendation for most users because of the balance between power, safety, and ease of use. The OMTech K40+ is the clear winner if you want to keep your initial investment under $1,000 while still getting real CO2 cutting power.
If you are running a small business with high volume, the xTool P3 and WECREAT Vision Pro offer the automation and work area you need to scale. The Monport 40W 2.0 is a fun project for hobbyists who do not mind a few tweaks. No matter which machine you choose, budget for ventilation, safety glasses, and a few hours of learning time. The results are worth it.