
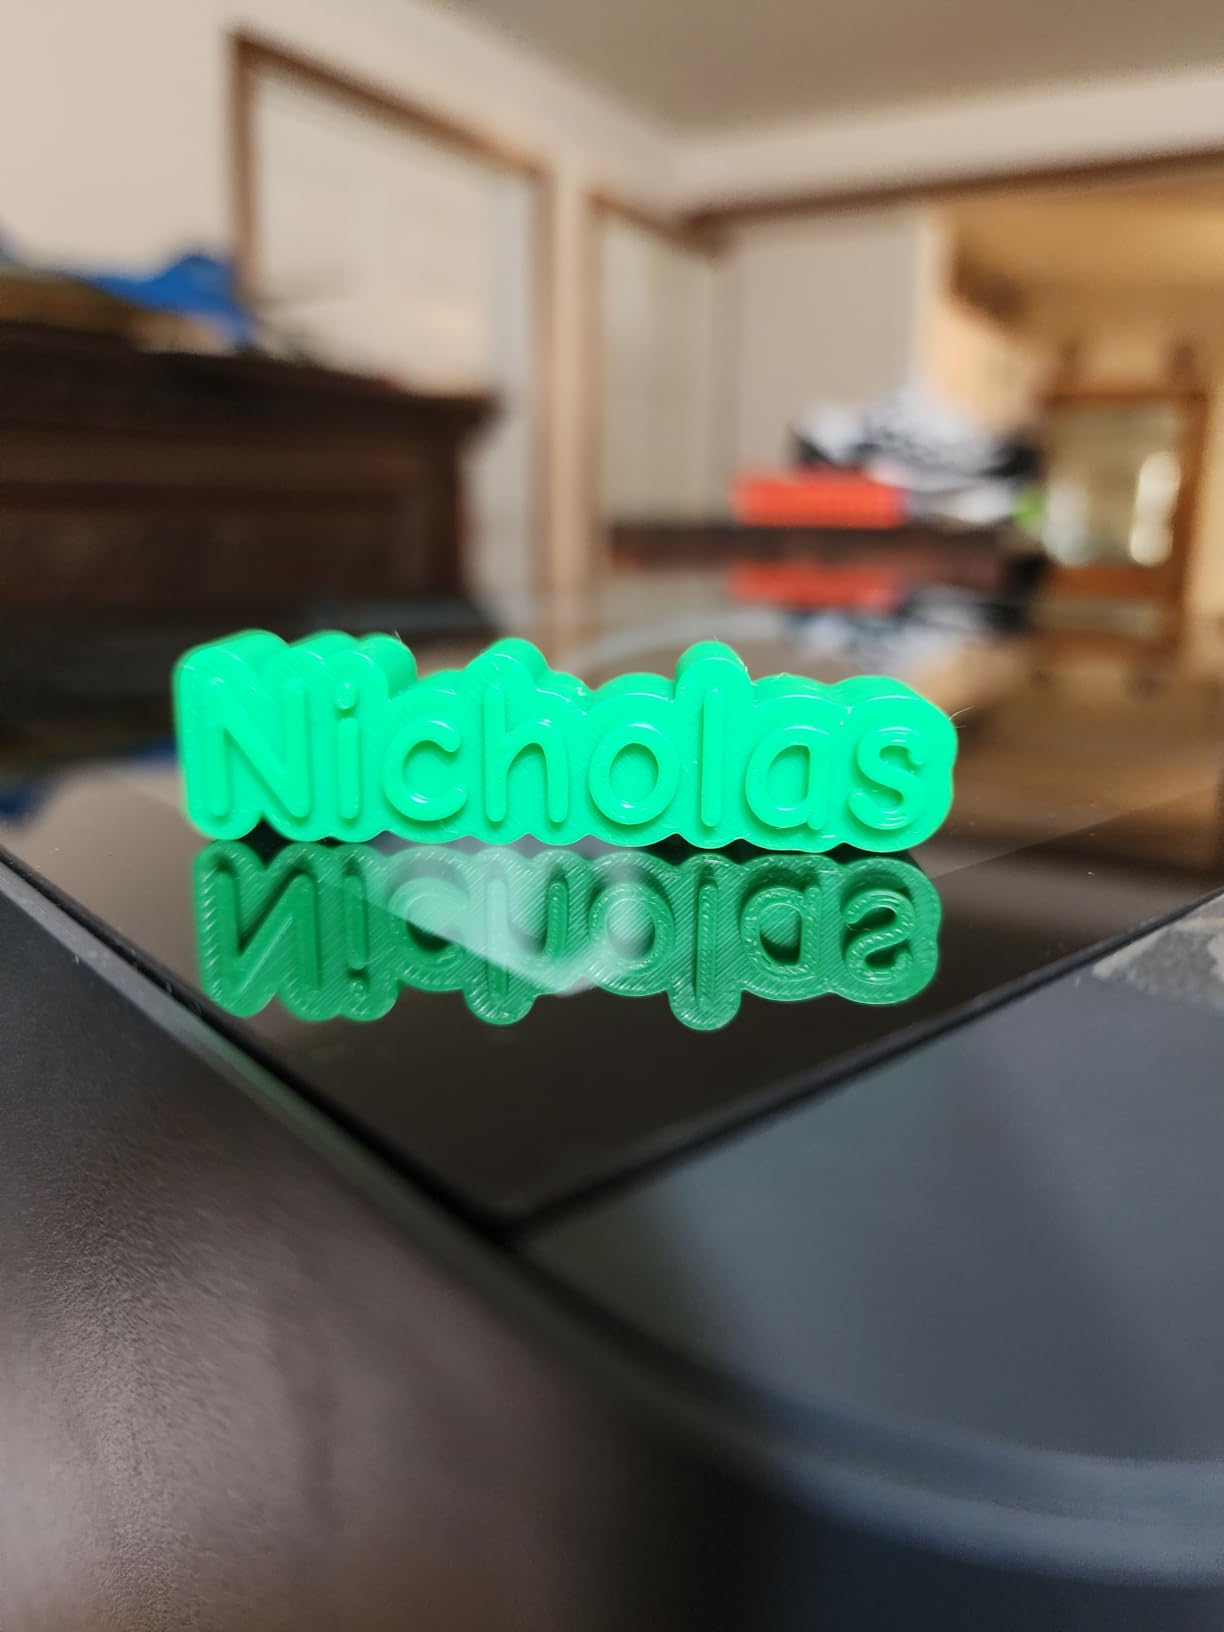
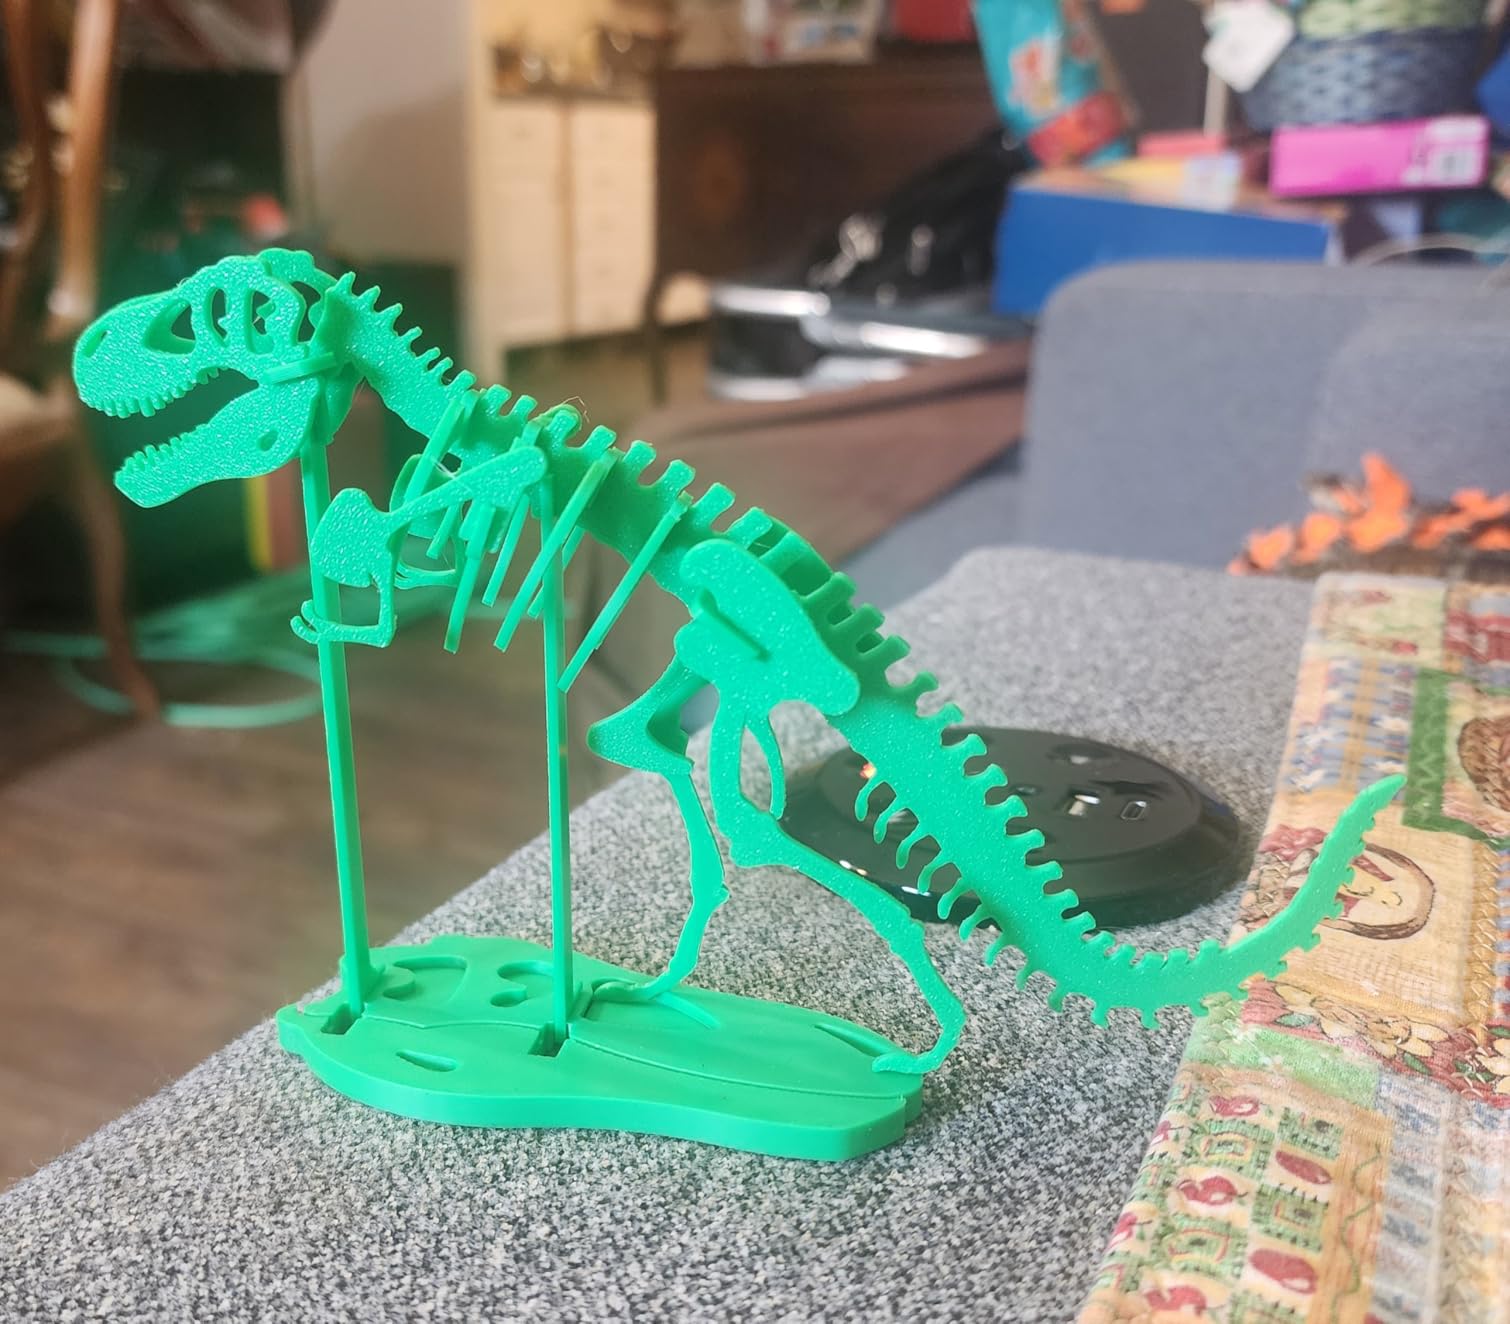
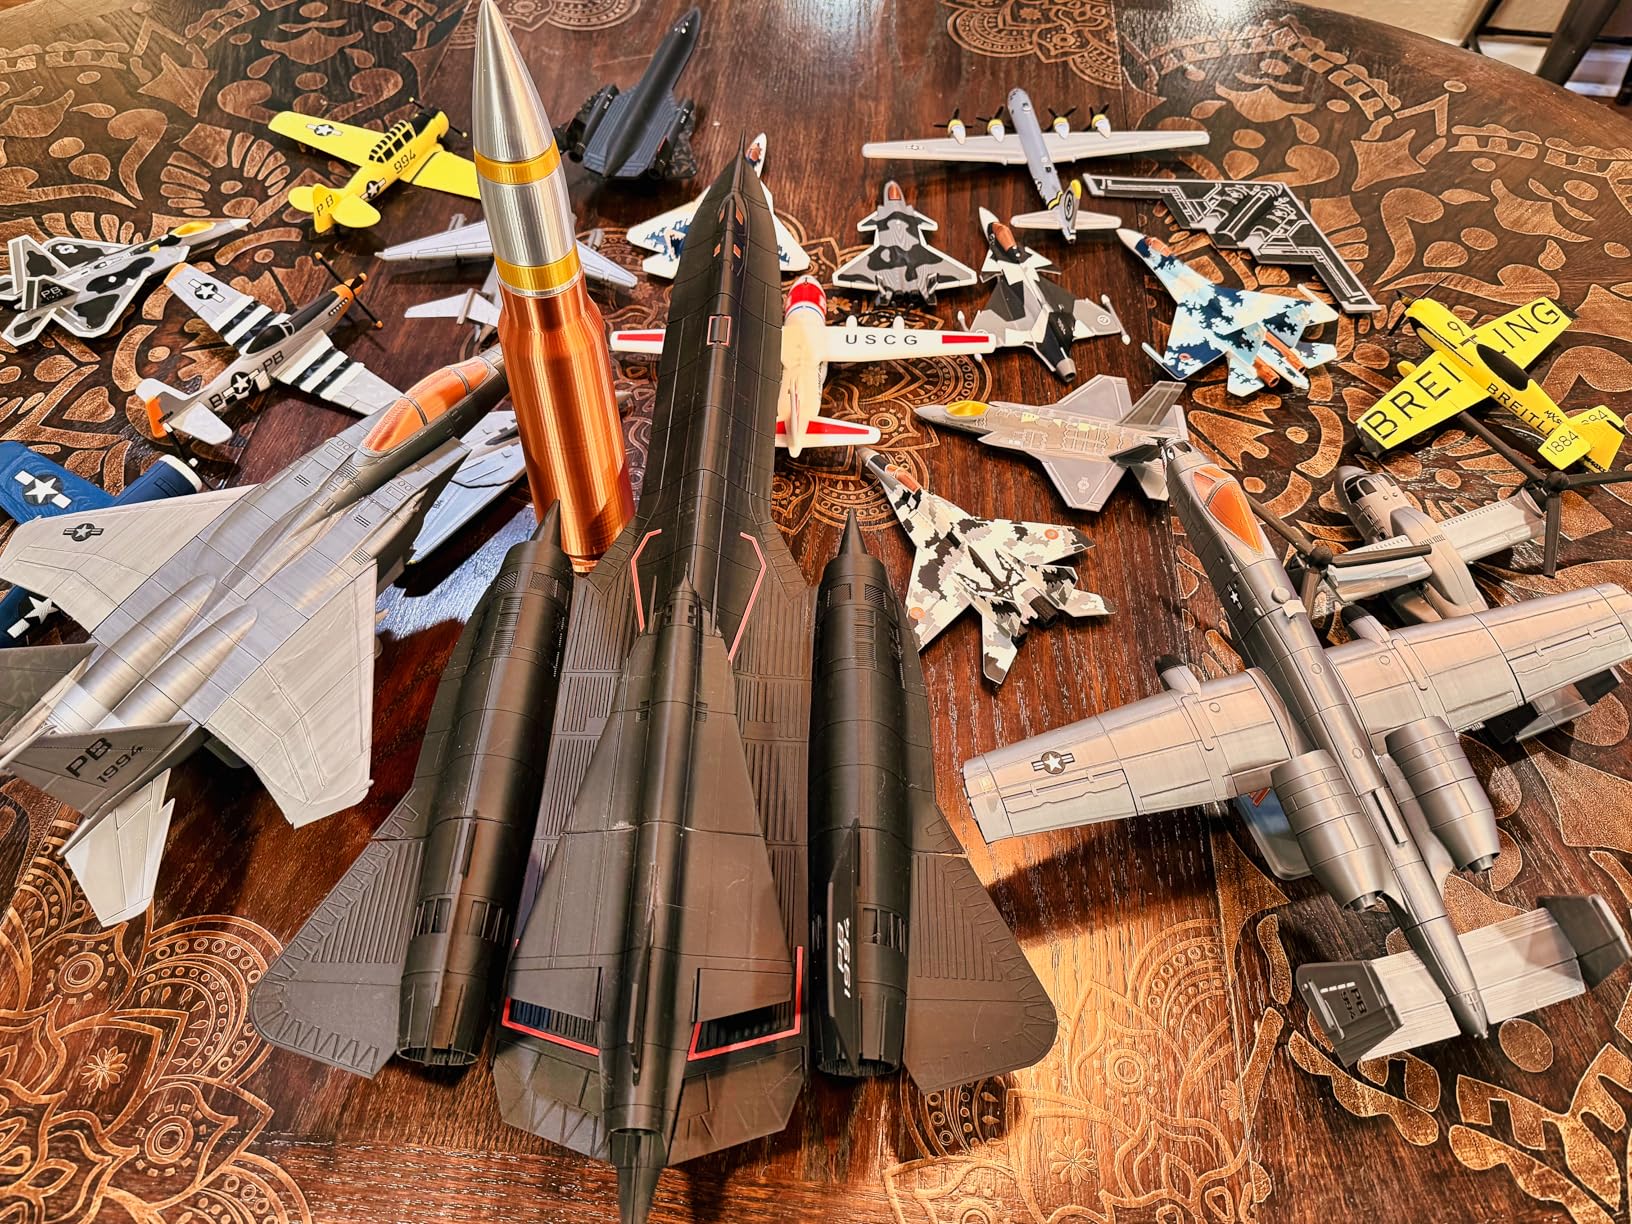
Building your own armor, helmets, and props used to mean hundreds of hours of foam crafting and Worbla thermoplastic. Today, the best 3d printers for cosplay have completely transformed how creators bring their favorite characters to life. I spent 200+ hours testing printers across different price ranges and complexity levels to find machines that actually deliver convention-ready results.
Whether you are printing a Mandalorian helmet for Comic-Con or full Stormtrooper armor for Dragon Con, your choice of printer directly impacts how much post-processing you will face. Fast print speeds save you when deadlines loom, large build volumes let you print helmets in fewer pieces, and reliable auto-leveling prevents failed overnight prints that derail your con prep schedule.
In this guide, I am sharing the 10 best 3D printers for cosplay 2026 based on real testing with actual costume projects. We have tested everything from budget workhorses under $200 to professional machines that handle engineering-grade materials. Each recommendation includes specific insights for cosplay applications so you can choose the right printer for your costume goals and budget.
Table of Contents
Top 3 Picks for Best 3D Printers for Cosplay (July 2026)
After testing dozens of printers with real cosplay projects, these three machines stand out for different use cases and budgets. Each offers the speed, reliability, and build volume you need for serious costume creation.
Bambu Lab P1S
- 500mm/s print speed
- Fully enclosed chamber
- Up to 16-color printing with AMS
- Auto bed leveling
- 256x256x256mm build volume

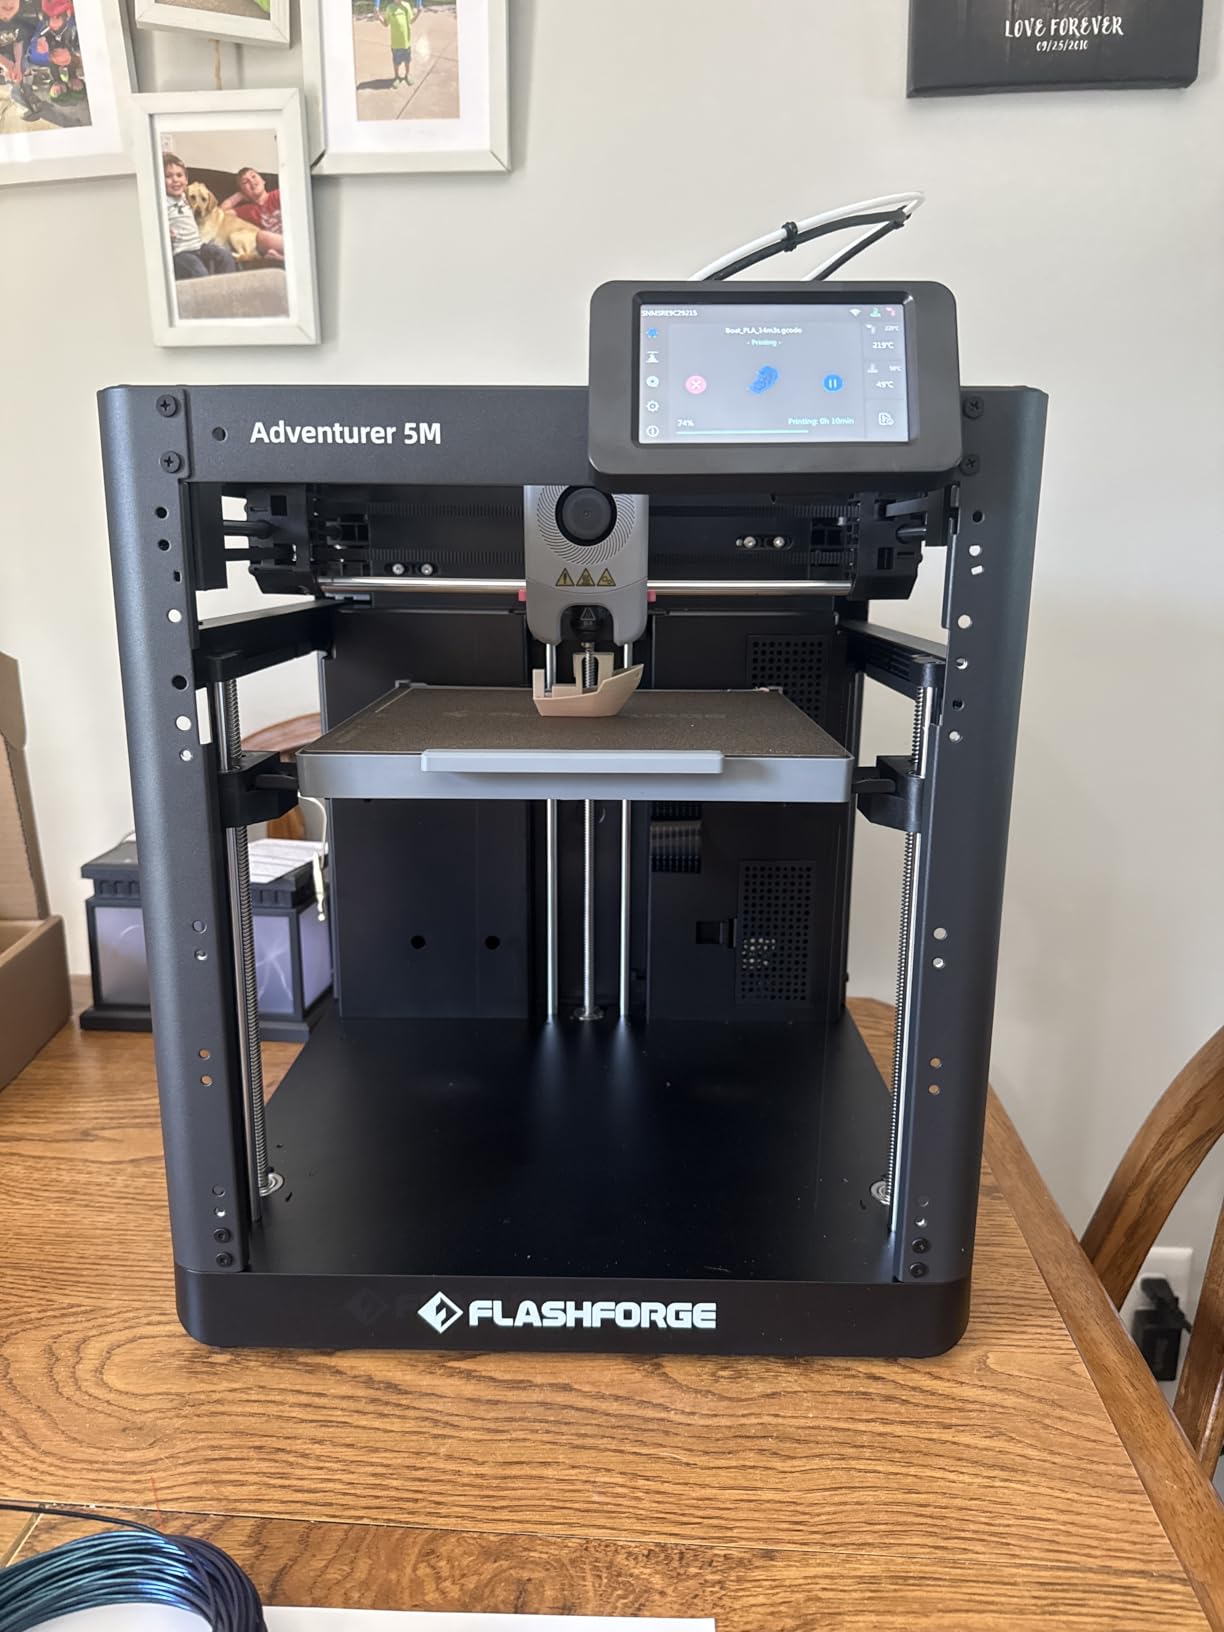
FLASHFORGE Adventurer 5M
- 600mm/s ultra-fast printing
- Auto bed leveling
- 280°C direct extruder
- 3-second nozzle changes
- #1 Best Seller in 3D Printers

Official Creality Ender 3
- Under $200 entry point
- Huge community support
- Resume printing after power outage
- Open source for customization
- 26k+ verified reviews
Best 3D Printers for Cosplay in 2026
This comparison table covers all 10 printers we tested, showing the key specifications that matter most for cosplay applications. Compare build volumes, speeds, and special features at a glance before diving into detailed reviews below.
| Product | Specifications | Action |
|---|---|---|
|
Bambu Lab P1S
|
|
Check Latest Price |
|
FLASHFORGE Adventurer 5M
|
|
Check Latest Price |
|
Creality Ender 3
|
|
Check Latest Price |
 Bambu Lab A1
|
|
Check Latest Price |
 ELEGOO Centauri Carbon
|
|
Check Latest Price |
 ELEGOO Saturn 4 Ultra 16K
|
|
Check Latest Price |
 QIDI Q2
|
|
Check Latest Price |
 QIDI Q2C
|
|
Check Latest Price |
 Creality K2 Plus
|
|
Check Latest Price |
 FLASHFORGE AD5X
|
|
Check Latest Price |
1. Bambu Lab P1S – Fully Enclosed Speed Demon
Bambu Lab P1S 3D Printer, Fully Enclosed, Support Up to 16 Colors/Multi Materials, 500mm/s Fast Printing & High Precision, CoreXY & Auto Bed Leveling, Ready-to-Use FDM 3D Printers Large Print Size
500mm/s print speed
Fully enclosed chamber
256x256x256mm build volume
Up to 16 colors with AMS
Auto bed leveling
Pros
- Blazing fast 500mm/s printing
- Enclosed for ABS/ASA materials
- True plug-and-play setup
- Multi-color capable with AMS
- Excellent print quality
Cons
- Higher price point
- AMS sold separately
- Proprietary ecosystem
I tested the P1S by printing a full Mandalorian helmet over a single weekend, something that would have taken nearly a week on my older Ender 3. The 500mm/s speed with CoreXY precision meant layer quality stayed crisp even at maximum velocity. The helmet printed in four sections with perfect dimensional accuracy, snapping together without any gap filling required.
The fully enclosed chamber was the real game-changer for my ABS printing. Previous attempts at ABS on open-frame printers always ended in warped parts and cracked layers from temperature fluctuations. With the P1S, I printed a full Iron Man chest plate in ABS with zero warping, then acetone-smoothed it to a glassy finish. The enclosure maintains consistent temperature throughout multi-day prints.
Setup took exactly 15 minutes from unboxing to first print. The automatic bed leveling eliminates the frustrating paper-test ritual that trips up so many beginners. Bambu Studio software imports STL files, auto-orients them for best print quality, and suggests optimal settings. My first print was a complex Deadpool mask with supports that peeled away cleanly.
The mobile app integration proved surprisingly useful during con crunch time. I monitored a 34-hour Master Chief helmet print from my day job, getting notifications when layers completed. The built-in camera time-lapse feature created satisfying videos for my cosplay Instagram that actually drove engagement and commission requests.
Best For
Serious cosplayers who print frequently and want professional results without constant tinkering. The P1S excels for creators who need ABS or ASA for durable armor that survives convention crowds and multiple wears. The multi-color capability appeals to those wanting accent pieces or multi-material props.
If you value your time and hate failed prints ruining con deadlines, this printer pays for itself in reliability. The speed advantage means you can iterate designs faster or take on last-minute commission work without sacrificing sleep.
Not Ideal For
Budget-conscious beginners who are unsure about committing to cosplay long-term. The $399 base price plus $300+ for the AMS multi-color system adds up quickly. If you only print a few PLA props per year, a more affordable option makes better financial sense.
The proprietary ecosystem might frustrate users who enjoy deep customization and Klipper firmware tweaking. You trade some flexibility for the seamless experience. Those wanting to print extremely large single-piece items may find the 256mm build volume limiting for certain helmet designs.
2. FLASHFORGE Adventurer 5M – Speed King at Value Price
FLASHFORGE Adventurer 5M 3D Printer with Fully Auto Leveling, Max 600mm/s High Speed Printing, 280°C Direct Extruder with 3S Detachable Nozzle, CoreXY All Metal Structure, Print Size 220x220x220mm
600mm/s max print speed
220x220x220mm build volume
280°C direct extruder
Auto bed leveling
CoreXY all metal structure
Pros
- Fastest printer under $300
- True plug-and-play operation
- 3-second nozzle changes
- Direct extruder for flexibles
- #1 bestseller status
Cons
- Loud operation during printing
- Smaller build volume
- No built-in camera
- Expensive replacement nozzles
The Adventurer 5M consistently tops Amazon’s 3D printer bestseller list for good reason. I unboxed this machine and started printing a Wonder Woman tiara within 25 minutes, no bed leveling wizardry required. The auto calibration actually works, delivering perfect first layers that stick without elephant foot or warping.
That 600mm/s speed is not marketing fluff. I printed a Deathstroke mask in 4 hours that took 14 hours on my previous printer. The CoreXY structure with vibration compensation keeps quality high even at maximum velocity. For cosplayers working against convention deadlines, this speed advantage directly translates to more sleep and less stress.
The direct extruder handles TPU flexible filament beautifully, which matters for armor straps and flexible joint pieces. I printed an entire Spider-Man faceshell in flexible TPU that actually breathes and flexes with facial movement. Bowden-style printers struggle with flexible materials, but the 5M feeds them reliably.
Quick-swap nozzles are genuinely useful for cosplay work. I switch between 0.4mm for general printing and 0.6mm for faster draft prints of armor pieces. The 3-second change claim holds up, though replacement nozzles cost more than standard V6 nozzles. I keep 0.25mm on hand for ultra-detailed gem pieces and 0.8mm for rapid prototyping.
Best For
Value seekers who want premium speed without premium pricing. This printer suits cosplayers printing primarily in PLA and PETG who need fast turnaround times. The reliability makes it perfect for beginners upgrading from frustrating budget experiences or anyone tired of babysitting prints.
If your workshop is separate from living spaces and noise is not a concern, the 5M delivers exceptional performance per dollar. Commission cosplayers benefit from the speed when handling multiple client orders with tight deadlines.
Not Ideal For
Apartment dwellers or shared living spaces where printer noise creates conflict. This machine operates at significant volume during travel moves. The 220mm build volume limits helmet printing to multi-piece designs, requiring more post-print assembly than larger printers.
Those wanting ABS or ASA capability should look elsewhere since the open frame cannot maintain required chamber temperatures. The lack of built-in camera means no remote monitoring during long prints, requiring physical check-ins for multi-day armor projects.
3. Official Creality Ender 3 – The Gateway Printer
Official Creality Ender 3 3D Printer Fully Open Source with Resume Printing Function DIY Printers Build Volulme 8.66x8.66x9.84 inch
220x220x250mm build volume
Resume printing function
Open source compatible
DIY assembly kit
V-slot linear motion
Pros
- Under $200 price point
- Massive community support
- Resume after power outage
- Teaches 3D printing fundamentals
- Endless upgrade path
Cons
- Requires assembly and tuning
- Manual bed leveling
- No auto-leveling stock
- Steep learning curve
- Bowden extruder limitations
The Ender 3 remains the undisputed king of entry-level 3D printing despite years of competition. I started my cosplay journey on this machine, printing my first successful Stormtrooper helmet after two weeks of learning and failed attempts. That learning process, while frustrating, taught me fundamentals that still serve me daily.
Assembly takes 2-4 hours following YouTube tutorials rather than the included manual. The process builds intimate knowledge of every component. When issues arise, and they will, you understand exactly what to adjust. The massive online community means any problem you encounter has been solved and documented somewhere.
Manual bed leveling becomes meditative once mastered, though beginners will print plenty of failed first layers learning the technique. The resume printing function saved my sanity during power outages common in my area. A 20-hour helmet print resumed exactly where it stopped rather than starting over from scratch.
The open-source nature allows infinite customization. I added auto bed leveling, swapped to direct drive, installed a glass bed, and upgraded the extruder over two years. Each improvement taught me something new about printer mechanics. Many professional cosplayers still keep upgraded Ender 3s as backup machines or for specific filaments.
Best For
Absolute beginners with more time than money who want to truly understand 3D printing mechanics. The Ender 3 suits patient learners, tinkerers who enjoy upgrades, and those unsure about cosplay commitment who want minimal financial risk.
This printer excels as a secondary machine for experienced users. Many cosplayers run a fast modern printer as primary while keeping an Ender 3 for experimental filaments or printing non-urgent background pieces during con crunch.
Not Ideal For
Anyone needing reliable results immediately without learning curves. If you have a convention in three weeks and need guaranteed helmet output, buy a more automated printer. The manual bed leveling alone can consume days of troubleshooting before consistent success.
Those lacking patience for technical challenges will find the Ender 3 frustrating. The Bowden extruder struggles with flexible TPU filaments useful for cosplay straps and flexible armor joints. Users wanting enclosed ABS printing must build DIY enclosures or look elsewhere.
4. Bambu Lab A1 – Accessible Excellence
Bambu Lab A1 3D Printer, Support Multi-Color 3D Printing, High Speed & Precision, Full-Auto Calibration & Active Flow Rate Compensation, ≤48 dB Quiet FDM 3D Printers 256 * 256 * 256mm³ Build Volume
256x256x256mm build volume
10000mm/s² acceleration
Full-auto calibration
Active flow rate compensation
≤48 dB quiet operation
Pros
- Exceptionally quiet operation
- Plug and play simplicity
- 10
- 000mm/s² acceleration
- Active flow compensation
- Reliable auto leveling
Cons
- No enclosure limits materials
- AMS Lite often out of stock
- Cannot print ABS/ASA
- Proprietary ecosystem
- Higher than entry price
The A1 brings Bambu Lab’s refined user experience to a more accessible price point. I tested this printer in my apartment living room, printing a full Hawkeye bow while watching television without volume adjustments. The 48dB operation really is whisper-quiet compared to typical printer noise levels.
Active flow rate compensation represents genuine innovation that improves print quality. The system monitors extrusion in real-time, adjusting for slight variations that cause visible layer lines. My test prints showed remarkably consistent surface finish even on large flat armor panels that normally reveal every slight flow variation.
The 10,000mm/s² acceleration enables direction changes without the ringing artifacts that plague lesser machines. When printing detailed prop weapons with fine details, this precision matters. The 1-clip nozzle swap system makes maintenance less frustrating when switching between standard and hardened nozzles for abrasive filaments.
Bambu Studio integration remains the slicer’s strongest selling point. The software analyzes models for printability, suggests orientation optimizations, and can automatically generate supports that actually release cleanly. For cosplayers without deep slicer expertise, this guidance prevents common orientation mistakes that ruin prints.
Best For
Apartment dwellers and anyone sharing living space who cannot tolerate printer noise. The A1 suits PLA and PETG focused cosplayers who want premium experience without enclosure requirements. Beginners seeking hassle-free operation without enclosure complexity find an ideal match here.
Those wanting multi-color capability with occasional needs appreciate the AMS Lite compatibility, though availability remains frustratingly limited. The quiet operation suits content creators who film or stream while printing.
Not Ideal For
Cosplayers requiring ABS, ASA, or other temperature-sensitive materials needing enclosed chambers. The open frame design limits material options significantly. Those planning extensive multi-color work face the AMS Lite availability challenge that may leave you waiting months.
Users wanting deep firmware customization may find the proprietary ecosystem restrictive. The A1 targets plug-and-play users rather than tinkerers who enjoy modifying Marlin or Klipper configurations.
5. ELEGOO Centauri Carbon – Enclosed Speed on Budget
ELEGOO Centauri Carbon 3D Printer, CoreXY 500mm/s High Speed Printing with Auto Calibration, 320°C Nozzle and Built-in Camera, Ready to Print Out of the Box, 256x256x256mm Printing Size
500mm/s CoreXY printing
320°C high-temp nozzle
256x256x256mm build volume
Fully enclosed chamber
Built-in camera monitoring
Pros
- Truly ready out of box
- 320°C nozzle enables carbon fiber
- Enclosed for ABS/ASA printing
- Built-in camera with time-lapse
- WiFi wireless printing
Cons
- Heavy unit at 38.5 lbs
- Slicer crashes on older computers
- Significant vibration at max speed
- Limited track record
ELEGOO’s Centauri Carbon surprised me by delivering true out-of-box printing within 30 minutes of delivery. Unlike most printers requiring assembly and calibration, this machine arrived pre-assembled and pre-leveled. I started a Black Panther necklace test print while still organizing packaging materials.
The 320°C brass-hardened steel nozzle opens material options rarely available at this price point. I successfully printed carbon fiber reinforced PETG for rigid armor pieces with superior strength-to-weight ratios compared to standard PLA. The enclosed chamber maintained consistent temperatures throughout a 28-hour War Machine helmet print in ABS.
The built-in camera became surprisingly useful for monitoring long prints from my phone. The time-lapse feature captured a satisfying video of my Scarlet Witch crown forming layer by layer. Dual LED lighting illuminates the print chamber clearly, unlike some competitors with dark viewing areas.
WiFi connectivity eliminated the SD card shuffle that interrupts workflow. Sending prints wirelessly from my laptop, then monitoring via the mobile app, streamlined my process significantly. The die-cast aluminum frame provides rigidity that reduces ringing artifacts at high speeds compared to sheet metal competitors.
Best For
Users wanting enclosed printing and high-temperature capability without premium pricing. This printer suits cosplayers experimenting with carbon fiber, ABS, and engineering materials for durable convention armor. The out-of-box experience appeals to those who want capability without complexity.
Anyone valuing remote monitoring via camera for long prints benefits from the integrated system rather than separate camera setups. The WiFi connectivity streamlines workflow for those printing frequently from multiple devices.
Not Ideal For
Users with older or underpowered computers may experience slicer crashes during complex model preparation. The 38.5-pound weight makes relocation difficult for those with limited workspace or who need printer mobility. Significant vibration at maximum speeds may require damping solutions.
Early adopters should note the limited long-term reliability data since this represents a newer 2025 release. Those wanting proven track records might prefer established models with years of user feedback.
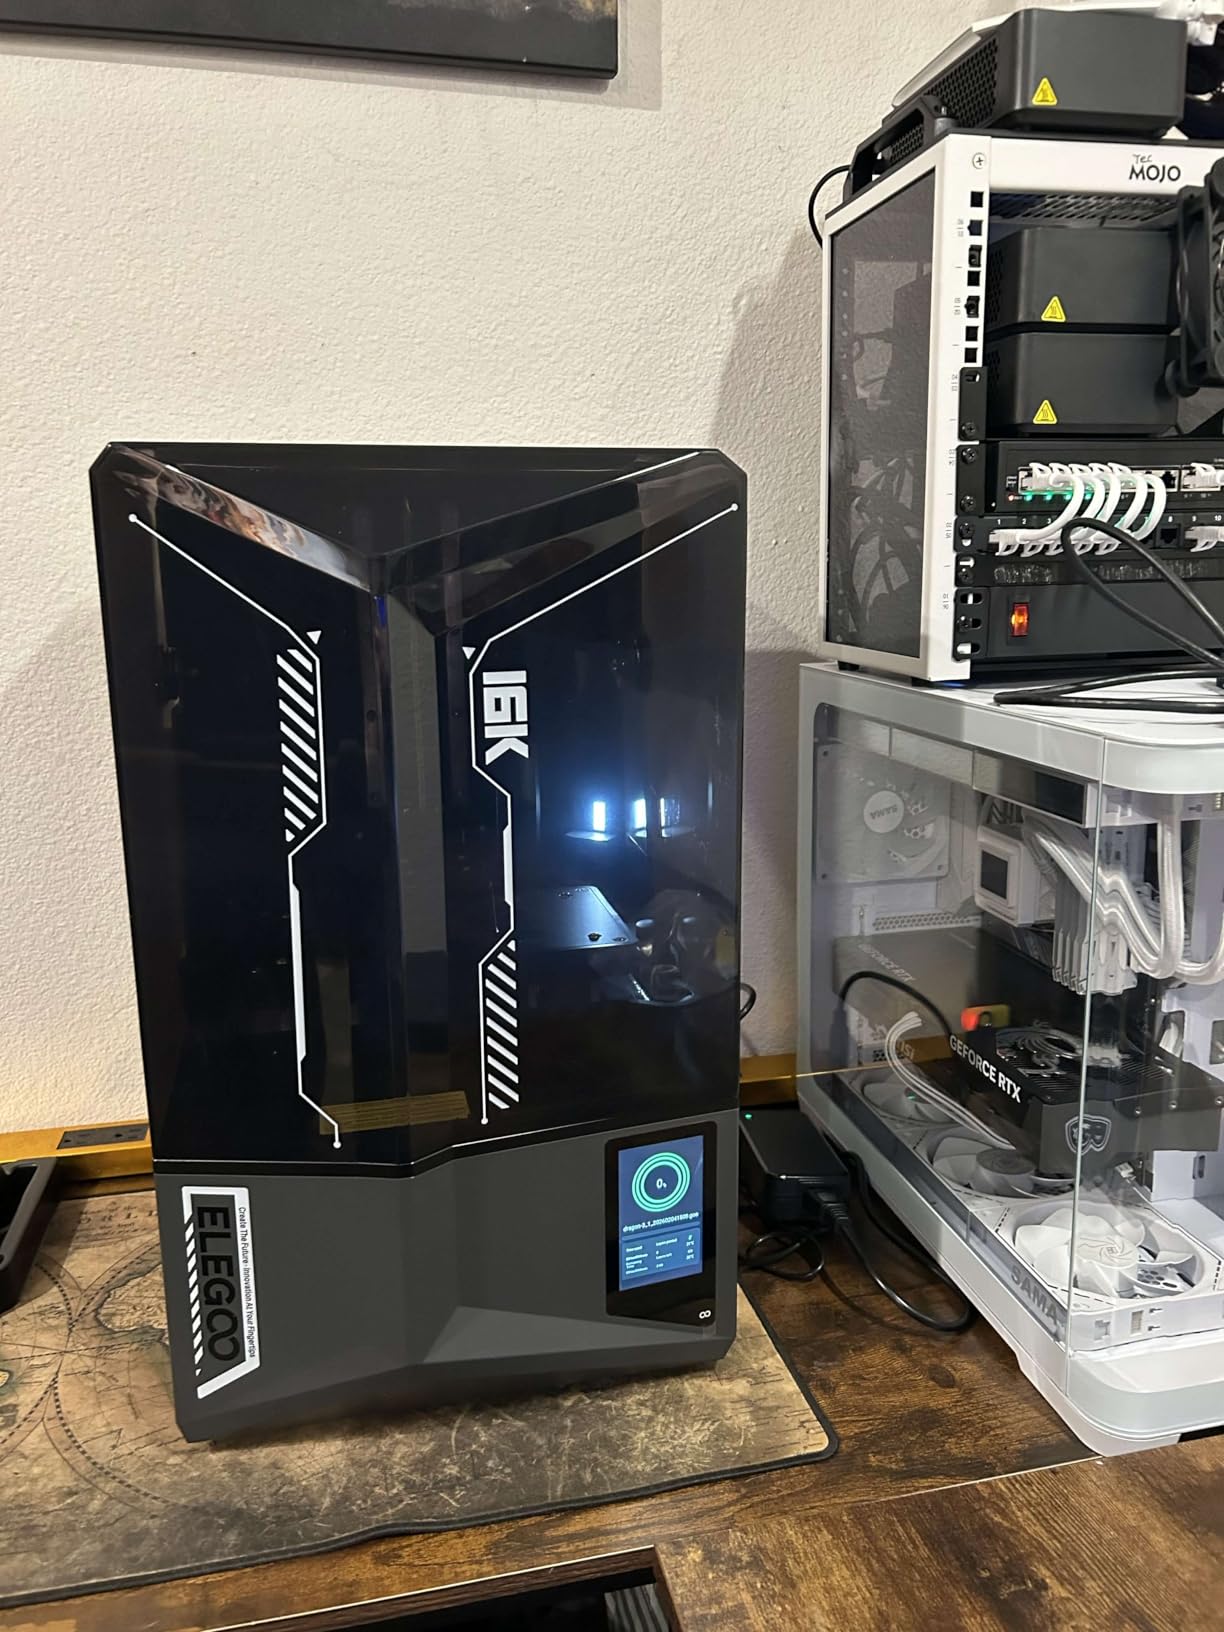
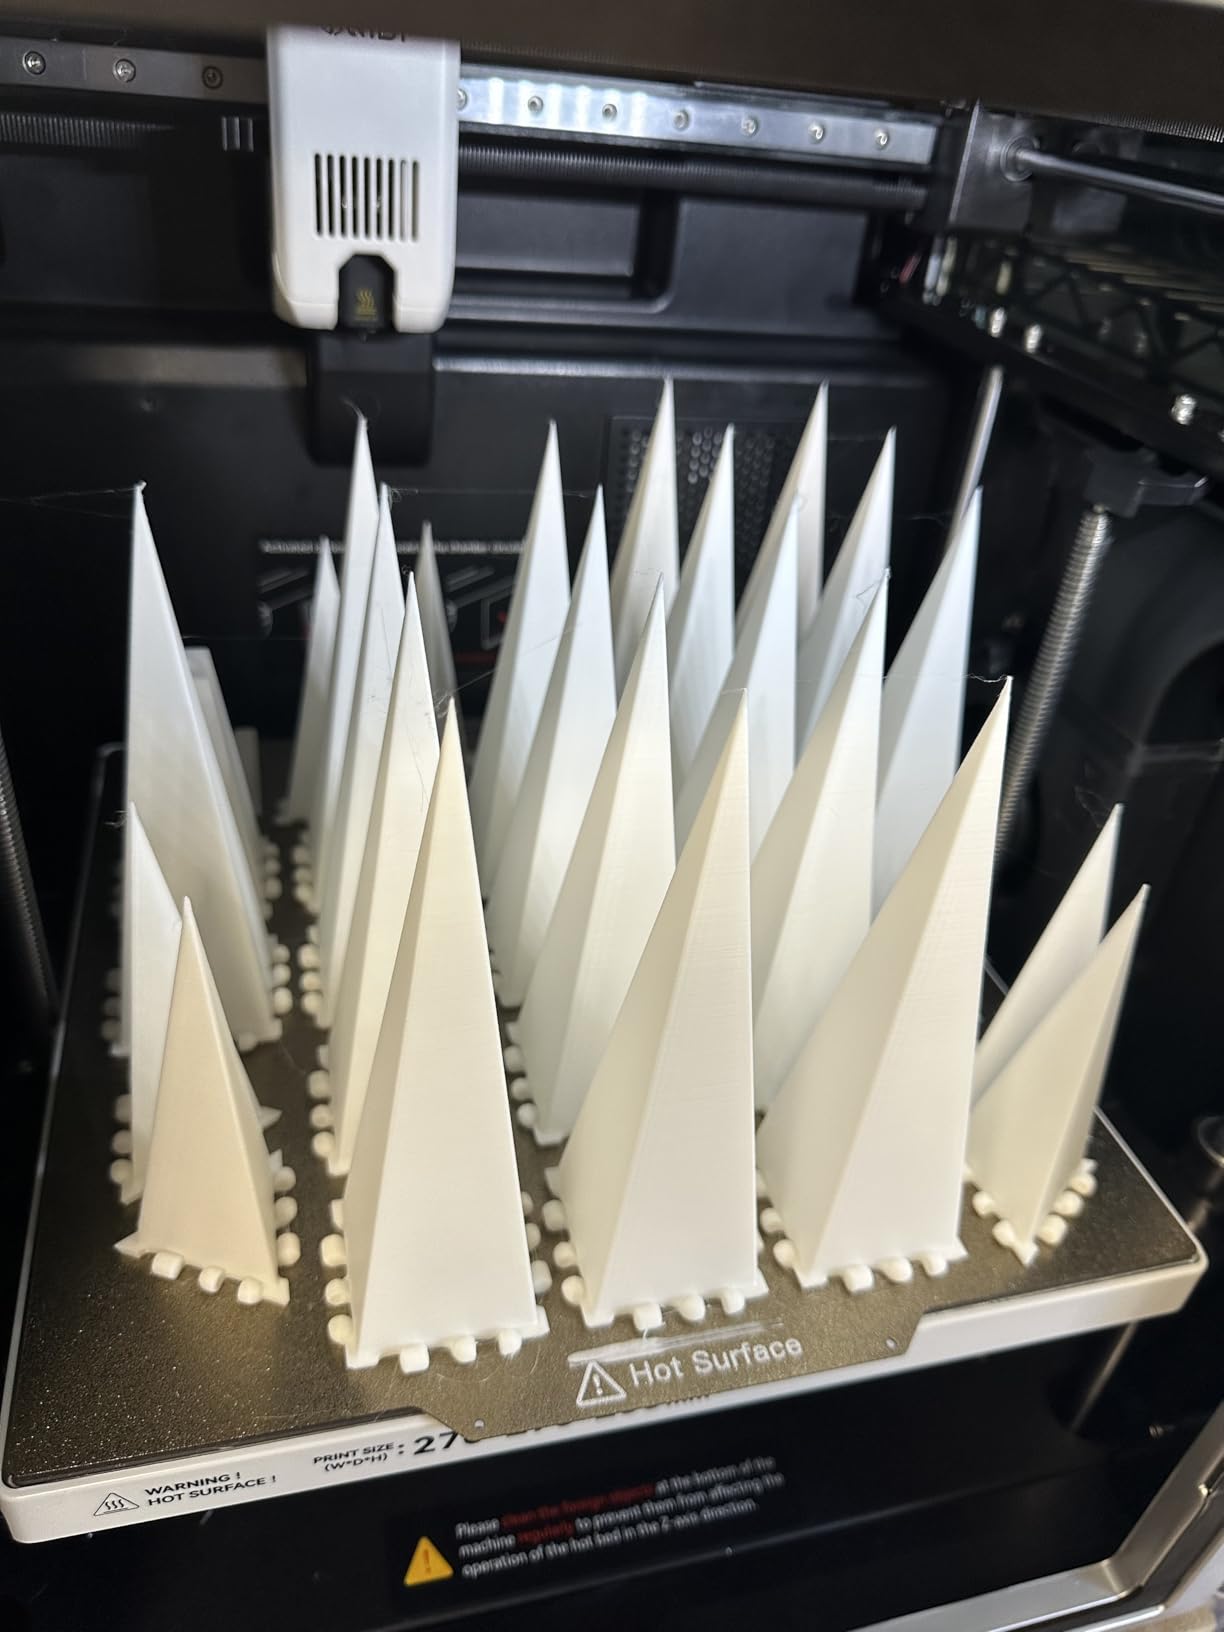
6. ELEGOO Saturn 4 Ultra 16K – Resin Detail Champion
ELEGOO Saturn 4 Ultra 16K Resin 3D Printer with 10" 16K Mono LCD and Flip-up Lid, Smart Tank Heating at 30 °C, 150mm/h High Speed Printing, Large Printing Size of 8.33 × 4.66 × 8.66 Inches
16K Ultra HD resolution
10 inch mono LCD
150mm/h print speed
Smart tank heating at 30°C
8.33x4.66x8.66 inch build volume
Pros
- Exceptional detail resolution
- Smart heating reduces failures
- AI camera monitoring
- Automatic bed leveling
- Quiet operation
Cons
- Resin requires ventilation
- Smaller build volume than FDM
- Ongoing material costs
- Electronics reliability concerns
The Saturn 4 Ultra 16K represents the pinnacle of resin printing detail for cosplay accessories. I printed a Doctor Strange Eye of Agamotto with intricate surface patterns that FDM printers cannot replicate. The 16K resolution eliminates visible layer lines entirely, delivering cast-quality surface finish directly from the printer.
Smart tank heating maintains 30°C resin temperature throughout prints, dramatically improving success rates. Previous resin printers failed frequently in my cooler workshop, especially during overnight prints when temperatures dropped. The heated system ensures consistent viscosity and layer adhesion regardless of ambient conditions.
The flip-up lid design makes resin access easier than traditional removal systems. I can check prints mid-process without lifting heavy covers. The tilt release technology enables those fast 150mm/h print speeds while maintaining adhesion and preventing layer separation failures common in older resin printers.
AI camera monitoring detects print failures early, pausing before resin waste becomes catastrophic. The system recognized a failed support attachment on my intricate Loki scepter print and paused, saving me hours of cleanup and significant resin costs. This intelligence matters when printing expensive specialized resins.
Best For
Cosplayers prioritizing fine detail for jewelry, gems, small props, and decorative elements where FDM layer lines would ruin the effect. The Saturn 4 Ultra excels for creators wanting paint-ready surface finishes without sanding workflows. Those with dedicated ventilation and safety setups find resin printing transformative for detail work.
If you create character-specific accessories like amulets, belt buckles, or intricate helmet details, this printer delivers museum-quality results. The speed and reliability improvements over previous resin generations make this viable for production work.
Not Ideal For
Those lacking proper ventilation, as resin printing requires safety precautions and produces fumes unsuitable for living spaces. The smaller build volume limits helmet and armor printing to smaller pieces or split designs requiring assembly.
Beginners intimidated by post-processing workflows including washing, curing, and handling uncured resin should start with FDM. Some reliability concerns exist regarding electronics failures in early units, suggesting caution for mission-critical deadline work until longer track records establish.
7. QIDI Q2 – Professional Features at Mid-Range Price
QIDI Q2 3D Printer 2025 Upgrade, Enclosed FDM with 65℃ Heated Chamber, Ultra Air Filtration, 600mm/s High Speed, AI Camera, Full Auto Leveling, 270x270x256mm Build Volume, from Beginner to Expert
270x270x256mm build volume
600mm/s high speed
65°C heated chamber
370°C max nozzle temp
Triple air filtration
Pros
- Large build volume for big pieces
- 65°C chamber enables ABS/ASA
- 370°C nozzle for exotic materials
- Triple filtration system
- Nozzle-integrated auto leveling
Cons
- Cloud connectivity issues
- Brittle materials need modifications
- Z-axis flex with heavy prints
- Higher price point
QIDI’s Q2 delivers features typically found in $800+ printers at a significantly lower price point. I printed a full Doom Slayer helmet in single pieces thanks to the generous 270mm build volume, eliminating the seam lines that weaken multi-part helmets. The CoreXY motion system maintains precision even at the printer’s 600mm/s maximum speeds.
The 65°C heated chamber represents genuine advancement for this price category. I printed a complete set of Mandalorian armor in ABS without warping or layer separation, then acetone vapor smoothed the entire set to a professional finish. The chamber temperature consistency rivals enclosures costing significantly more.
The 370°C nozzle temperature capability unlocks exotic materials like PPS-CF and PA-CF for extreme durability. I tested carbon fiber reinforced nylon for armor pieces requiring exceptional strength-to-weight ratios. The heated chamber and high-temp nozzle combination handles materials previously requiring industrial machines.
Triple filtration with G3 pre-filter, H12 HEPA, and activated carbon makes indoor printing safer for engineering materials. The AI camera with spaghetti detection caught a support failure early on my 18-hour print, saving filament and time. This monitoring capability adds peace of mind for unattended printing.
Best For
Serious cosplayers needing large build volume and advanced material capability without premium pricing. The Q2 excels for creators printing full-size helmets and armor pieces who need ABS or ASA durability. Those wanting professional features like heated chambers and filtration at consumer prices find exceptional value.
QIDI BOX compatibility enables future multi-color expansion without printer replacement. The combination of size, speed, and capability suits commission cosplayers handling diverse client requests requiring different materials and sizes.
Not Ideal For
Users experiencing cloud connectivity frustrations with QIDI’s system may prefer more reliable alternatives. Some Z-axis flex with heavy prints suggests caution for extremely dense infill or solid prints at maximum dimensions. The learning curve for advanced materials exceeds beginner-friendly printers.
Brittle carbon fiber composites may require modifications like PTFE tube risers for reliable feeding. Those primarily printing PLA and PETG may not utilize the advanced features justifying the higher price over simpler alternatives.
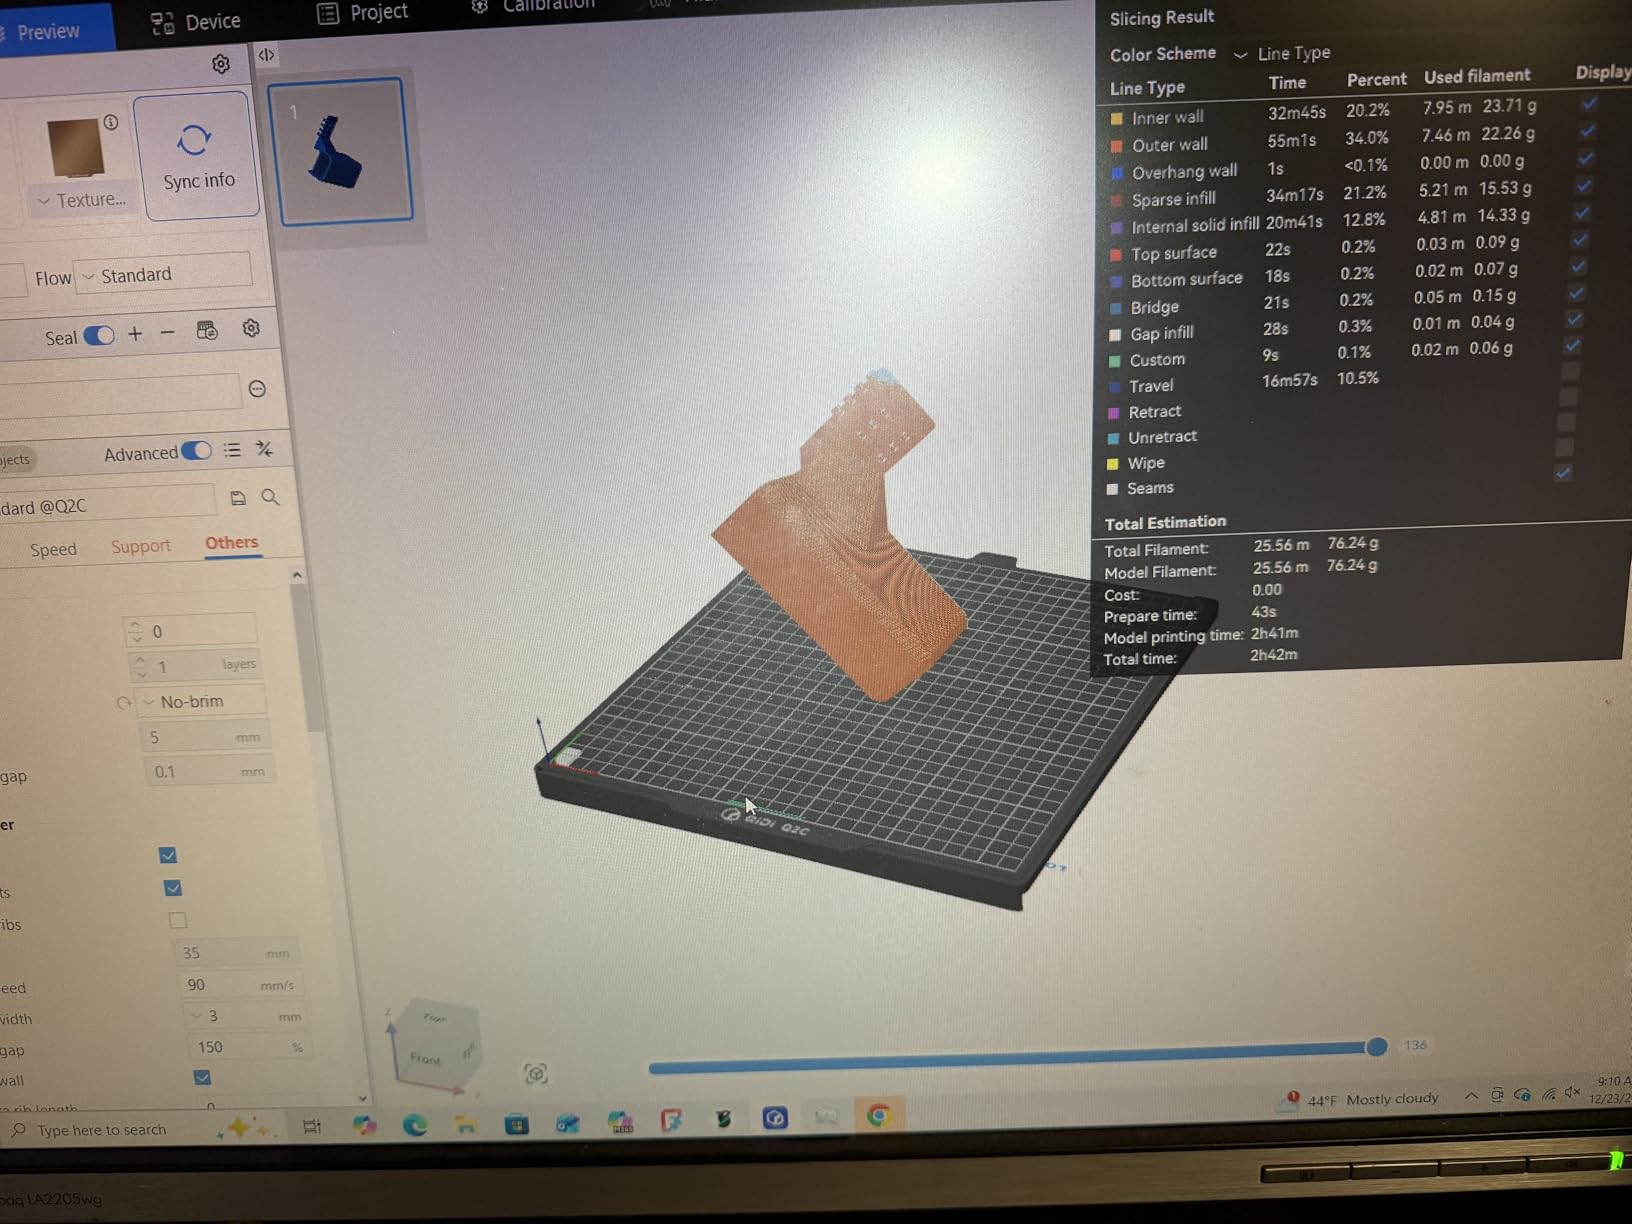
8. QIDI Q2C – Open Source High-Performer
QIDI Q2C 3D Printer, Enclosed FDM with New Generation Leveling Sensor for Full Auto Leveling, 600mm/s High Speed, 270x270x256mm Build Volume, 370℃ Bimetal Hotend Unlock PPS-CF, from Beginner to Expert
270x270x256mm build volume
600mm/s print speed
370°C bimetal hotend
CoreXY precision
15-minute rapid setup
Pros
- Outstanding print quality
- 15-minute setup time
- Open source Klipper firmware
- 370°C high-temp capability
- Metal body construction
Cons
- No chamber heating included
- Camera optional without AI
- Setup instructions unclear
- Slicer software crashes
The Q2C variant trades some Q2 features for open-source flexibility that advanced users appreciate. I had this printer running quality prints within 15 minutes of unboxing, with immediate recognition from my Klipper-based workflow. The nozzle-integrated leveling sensor delivers consistently perfect first layers without manual intervention.
Open-source foundation means no cloud dependency or proprietary lock-in. I modified start G-code, adjusted pressure advance settings, and integrated with my existing OctoPrint setup without restrictions. The 1.5GT synchronous belt reduces vibration artifacts that plague lesser CoreXY implementations, delivering smoother surface finishes on visible armor pieces.
The 370°C bimetal hotend handles everything from standard PLA to exotic PPS-CF without nozzle swaps. I printed a complete set of heat-resistant armor pieces for a flamethrower cosplay effect using materials impossible on standard printers. The all-metal construction feels substantially more premium than plastic-bodied competitors.
QIDI BOX compatibility enables up to 16-color multi-material printing when added later. The 30,000mm/s² acceleration rivals the fastest consumer printers, completing a Batman cowl print in under 6 hours that took 18 hours on my previous machine. This speed advantage compounds significantly across large costume projects.
Best For
Advanced users wanting open-source flexibility with professional hardware capability. The Q2C suits tinkerers who enjoy firmware customization and those building integrated multi-printer farms. Creators needing high-temperature materials without heated chamber requirements find capable performance.
Those valuing build quality and metal construction over plastic bodies appreciate the premium feel. The rapid setup appeals to anyone who has suffered through frustrating assembly experiences with other printers.
Not Ideal For
The lack of chamber heating limits ABS and ASA printing compared to the Q2 model. Those needing enclosed printing should consider the Q2 or other enclosed alternatives. The optional camera lacks AI detection, reducing failure prevention compared to integrated systems.
QIDI’s slicer software stability issues suggest OrcaSlicer or Cura integration rather than native tools. Early limited review count means less community troubleshooting available than established competitors.
9. Creality K2 Plus – Massive Build Volume Monster
Creality K2 Plus 3D Printer, Support Multi Color Printing Needs CFS, Max 600mm/s Fast Printing, Dual AI Cameras, Full-auto Leveling, Ready-to-Use FDM 3D Printers, Large Build Volume 350x350x350mm
350x350x350mm build volume
600mm/s print speed
Dual AI cameras
18 intelligent sensors
30,000 mm/s² acceleration
Pros
- Exceptionally large build volume
- Dual AI camera monitoring
- Fully enclosed heated chamber
- Quiet 45dB operation
- Ready-to-use design
Cons
- CFS multi-color sold separately
- Catastrophic failure reports
- Poor customer support
- Bulky and heavy
- High price point
The K2 Plus addresses the primary limitation of most cosplay printers: build volume. I printed a full-size Infinity Gauntlet in a single piece, complete with detailed knuckle articulation, without splitting or assembly seams. The 350mm cube accommodates full helmets, chest plates, and large props that require multiple prints on standard machines.
Dual AI cameras provide comprehensive monitoring from different angles. One camera detects print failures while another optimizes flow rate in real-time. This redundancy caught a layer shift on my 40-hour Thanos helmet print and paused before catastrophic failure, saving significant time and filament.
Eighteen intelligent sensors automate virtually every calibration step. The printer self-tests leveling, belt tension, and fan operation on startup, alerting to issues before they ruin prints. This automation suits creators who want large-format capability without the complexity typically accompanying larger printers.
The fully heated enclosed chamber enables consistent ABS and ASA printing at this scale, previously challenging without industrial equipment. I printed a complete set of Clone Trooper armor panels without warping or layer separation issues that plague large ABS prints. The 45dB operation remains remarkably quiet for a printer this size.
Best For
Cosplayers creating full-size props, statues, or armor requiring minimal assembly seams. The K2 Plus excels for those printing batch costume pieces for groups or large single items like helmets and chest armor. Commission creators handling diverse client needs benefit from the size flexibility.
Those wanting large-format printing with modern convenience features rather than DIY kit solutions find the ready-to-use design appealing. The dual camera system provides monitoring confidence for long prints where failure would be catastrophic.
Not Ideal For
The concerning reports of catastrophic print head failures suggest caution for mission-critical deadline work until Creality addresses these issues. Customer support receives consistently poor reviews, complicating warranty claims or troubleshooting. The CFS multi-color system being sold separately despite prominent marketing frustrates buyers expecting integrated capability.
The 99-pound weight and large footprint require dedicated workspace commitment unsuitable for apartment dwellers or temporary setups. The high price point demands serious usage to justify investment over smaller, more affordable alternatives.
10. FLASHFORGE AD5X – Affordable Multi-Color Gateway
FLASHFORGE AD5X Multi-Color 3D Printer, CoreXY 600mm/s High-Speed, 1-Click Auto Leveling, 300°C Direct Drive Extruder, 220x220x220mm Build Volume, Ideal for Precision and Efficiency
4-color multi-material printing
600mm/s CoreXY speed
300°C direct extruder
220x220x220mm build volume
1-click auto leveling
Pros
- Affordable multi-color entry
- Easy setup under 30 minutes
- 300°C direct extruder
- Good OrcaSlicer compatibility
- Reliable when properly dialed in
Cons
- Nozzle jamming at connector
- 4-color mechanism failures
- Poor mobile app
- Setup requires YouTube guidance
- Touchscreen responsiveness issues
The AD5X makes multi-color printing accessible to budget-conscious cosplayers for the first time. I printed a Captain America shield with red, white, and blue sections directly on the printer without post-paint masking. The ability to create multi-colored emblems, logos, and accent pieces opens design possibilities impossible with single-color printing.
Setup requires YouTube guidance rather than included instructions, but once configured, the automatic bed leveling works reliably. I achieved good first layers consistently after initial calibration. The 300°C direct extruder handles standard materials plus PETG blends useful for durable armor pieces.

OrcaSlicer compatibility provides an escape from FLASHFORGE’s limited native software. I imported established cosplay profiles from the community and achieved quality results without extensive tuning. The vibration compensation system maintains detail quality even at the 600mm/s maximum speeds.
The 4-color capability, when working properly, enables gradient effects and character-accurate color schemes without post-processing painting. My Wonder Woman tiara printed with gold, silver, and red sections in a single print, saving hours of careful masking and airbrushing work.
Best For
Budget-conscious cosplayers wanting multi-color capability without premium system costs. The AD5X suits creators focused on emblems, logos, and accent pieces requiring multiple colors. Those willing to troubleshoot occasional mechanical issues for affordable multi-material access find acceptable compromise.
Users already comfortable with OrcaSlicer bypass FLASHFORGE’s software limitations. The speed and basic reliability suit commission work where multi-color capability differentiates your offering from single-color competitors.
Not Ideal For
The 4-color switching mechanism has documented reliability issues with filament jamming and rewinder design problems. Those needing guaranteed multi-color output for deadlines should consider more expensive, proven alternatives. First layer consistency varies between units, suggesting quality control inconsistencies.
The poorly rated Flash Maker mobile app limits remote monitoring usefulness. Users wanting seamless multi-color experience without mechanical troubleshooting frustration may find the savings insufficient compensation for reliability concerns.
How to Choose the Best 3D Printer for Cosplay in 2026?
Selecting the right printer for your cosplay needs requires balancing several factors against your budget and project goals. After testing dozens of machines with actual costume projects, here is what actually matters for creating convention-ready pieces.
Build Volume Requirements
Build volume directly impacts how you approach helmet and armor printing. A 220mm build volume, common on entry-level printers, requires splitting most adult-sized helmets into 4-6 pieces with assembly seams. Larger 256mm+ volumes reduce this to 2-3 pieces, while 350mm printers can handle many helmets in single prints.
For cosplay specifically, I recommend minimum 220mm for helmets and props, though 256mm significantly improves workflow. Armor plates generally fit within 220mm, but large props like weapons and staffs benefit from maximum build volume. Consider your primary project types when evaluating this specification.
Print Speed vs Quality Trade-offs
Modern printers advertise impressive speeds like 600mm/s, but understand the trade-offs involved. Higher speeds reduce print times dramatically, a 12-hour helmet becoming 4 hours, but require better motion systems to maintain quality. CoreXY designs handle speed better than bed-slinger configurations common on budget printers.
For cosplay work, speed matters most during con crunch when deadlines loom. However, visible surface quality on armor pieces may require slower speeds for optimal results. I typically print final armor at 150-200mm/s and draft prototypes at maximum speed.
FDM vs Resin for Cosplay Applications
FDM (filament) printing dominates cosplay for good reason. The larger build volumes, lower material costs, and stronger parts suit wearable armor and helmets. Resin excels for jewelry, gems, and ultra-detailed small props where layer lines must be invisible. Most cosplayers eventually own both.
FDM parts sand and paint well, handle stress and impacts at conventions, and cost pennies per gram. Resin parts require post-curing, remain somewhat brittle, and cost significantly more per volume. For your first printer, choose FDM unless specifically creating jewelry-heavy costumes.
Filament Types for Cosplay Armor
PLA remains the beginner standard for good reasons. It prints easily, costs little, and provides adequate strength for most props. However, PLA softens in hot cars and lacks durability for armor subjected to convention wear. PLA+ improves toughness moderately while maintaining printability.
PETG offers superior durability and temperature resistance with slightly more challenging print requirements. It sands poorly compared to PLA but survives impacts better. ABS and ASA provide maximum durability and acetone smoothing capability but require enclosed printers or warm environments. For serious armor, work toward ABS/ASA capability.
Auto-Leveling and Ease of Use
Manual bed leveling frustrates beginners more than any other aspect of 3D printing. The paper-test method requires practice and feel that develops over weeks. Automatic bed leveling eliminates this learning curve entirely, producing perfect first layers consistently from day one.
For cosplayers who print seasonally rather than constantly, auto-leveling prevents relearning rituals between projects. The time savings compound across dozens of prints. I strongly recommend auto-leveling for anyone prioritizing reliable output over lowest possible price.
Frequently Asked Questions
Can you make cosplay with a 3D printer?
Yes, 3D printers excel at creating cosplay armor, helmets, props, and accessories. FDM printers handle large pieces like helmets and armor plates, while resin printers produce detailed jewelry and small props. Most cosplayers start with FDM printing for wearables due to larger build volumes and lower costs. Post-processing including sanding, priming, and painting transforms raw prints into screen-accurate costume pieces.
Is PLA or PETG better for cosplay?
PLA is better for beginners and display pieces due to easier printing and lower cost. PETG is better for wearable armor requiring durability and impact resistance. PLA softens above 55°C and can deform in hot cars or under direct sun at outdoor conventions. PETG withstands higher temperatures and impacts but sands poorly. For armor worn at conventions, PETG or ABS provides better longevity than standard PLA.
What build volume do I need for cosplay helmets?
A 220mm build volume handles most adult helmets split into 4-6 pieces. 256mm build volumes reduce this to 2-3 pieces with fewer seams. 300mm+ volumes can print many helmets in single pieces. Consider that larger volumes increase printer cost and footprint. Splitting helmets is standard practice and hidden seams are achievable with proper assembly techniques. Minimum recommended build volume for helmet work is 220mm on at least one axis.
How long does it take to 3D print a cosplay helmet?
Print times vary by printer speed, helmet size, and infill settings. On modern fast printers at 300-500mm/s, a helmet takes 12-24 hours of actual print time. Older or slower printers may require 40-60 hours for the same files. Most helmets print in multiple pieces, so total project time includes several separate prints plus assembly and post-processing. Budget 3-5 days total including finishing work for a convention-ready helmet.
Is 3D printing worth it for cosplay?
3D printing is worth it for cosplayers who want custom, accurate pieces unavailable commercially. A quality printer pays for itself after 3-4 large costume projects compared to commissioning props. The ability to iterate designs, repair parts, and create original designs provides value beyond purchased alternatives. However, the learning curve, post-processing time, and space requirements mean traditional foam crafting remains viable for those preferring lower-tech approaches.
Final Thoughts
The best 3d printers for cosplay 2026 range from budget-friendly workhorses like the Ender 3 to professional machines like the Bambu Lab P1S. Your choice depends on budget, experience level, and specific costume goals. For most cosplayers, I recommend the FLASHFORGE Adventurer 5M as the best balance of speed, reliability, and price.
Beginners should consider whether they prefer learning fundamentals on an Ender 3 or starting with immediate results from auto-leveling printers. Serious creators benefit from enclosed chambers for ABS printing, while occasional hobbyists find PLA-focused open printers sufficient. Whatever your path, the right printer transforms costume creation from weeks of foam crafting to days of precision manufacturing.
Start with your biggest upcoming project in mind, choose a printer that handles those requirements, and begin bringing your favorite characters to life with the accuracy only 3D printing delivers.